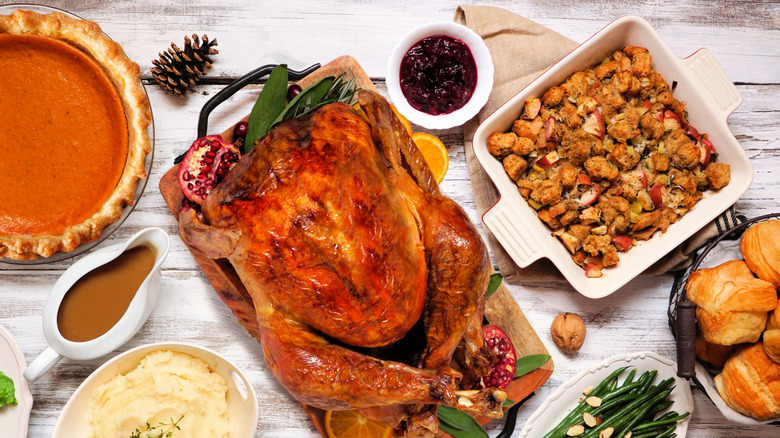
The Best Tips And Tricks For Roasting A Turkey
There are a couple of inescapable truths about Thanksgiving. The first: Someone in the family isn't going to get along with someone else in the family. The second: It's really hard to cook a turkey. Even if you're not too worried about the first truth, you probably stay up at night worrying about the second one. A ruined turkey means a ruined Thanksgiving, perhaps even more than family conflict means a ruined Thanksgiving because family conflict is kind of just a daily thing anyway.
A turkey, though — you spent a lot of money on that bird; and you got up early in the morning to get started on it; you read the recipe a couple of times and then you read it again; you looked at the turkey-cooking notes your mom sent you; and you still ended up with a dry turkey (or worse, an undercooked one).
The good news is, though roasting a turkey can be challenging, it isn't impossible to get right as long as you know a few secrets. But if you've ever tried to find advice online, it probably seems like everyone has their own unique ideas about the best way to roast a turkey. We're making it easier for you by giving you this list of only the best turkey roasting tips and tricks.
Buy two smaller turkeys instead of one big one
Everyone loves to see a ginormous turkey on the table. There's something really impressive about a 24-pound main course and the person who managed to cook it to perfection. But appearances aren't everything. A 24-pound turkey may look great but if you really want to impress your guests with flavor you might want to consider buying a couple of 12-pound turkeys instead.
There are a couple of advantages to cooking smaller birds. According to the The New York Times, they usually turn out more tender than the bigger ones. That's not because a bigger bird has different meat quality than a smaller bird. It's because the bigger ones spend more time in the oven and are more difficult to cook evenly, so there's a better chance you'll end up with dry meat.
Small turkeys also cook faster, which might give you some time to actually, you know, talk to the people who came over for Thanksgiving, or stop Uncle Frank from having that fourth glass of wine that he clearly doesn't need. Also, if you have turkey leg lovers at your table, there are four to fight over instead of two. And smaller drumsticks have fewer calories, so you can enjoy one with less guilt.
Free-range birds taste different
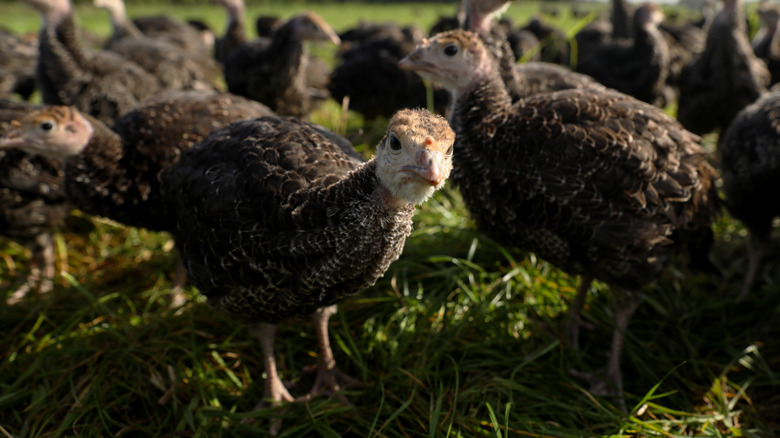
If you've always just grabbed a frozen turkey from your local chain supermarket, you may have also rolled your eyes at the suggestion that a free-range bird could be a better choice than the one you buy every year for 59 cents a pound. After all, turkey is turkey, and it all tastes the same, right?
A turkey purchased directly from the farm tends to have a more complex and interesting flavor then a generic supermarket bird. The theory is that because free-range birds get to walk around and exercise, they have a chance to build up more muscle, which in turn gives them a better flavor. Meanwhile their factory farmed cousins stand around getting fatter and fatter but don't really get any tastier.
On the flipside, free-range birds are a lot more expensive than the cheap supermarket varieties — and not like a few cents a pound more expensive, more like four or five times more expensive. So if you're feeding a lot of people, it might be cost-prohibitive to spend all that money for a little extra flavor. If a free-range turkey is out of your budget you can always compensate by following some of our other turkey-roasting tips, or maybe just make some extra gravy and cranberry sauce. Most people are probably not going to notice that much of a difference, especially after a couple of glasses of wine. We're looking at you, Uncle Frank.
Read the label
Brining is kind of like bell bottoms, in that it goes in and out of fashion every few decades. That may leave you wondering if you really need to take that extra step. Some chefs say "yes, absolutely," while others say you really don't need to bother (via Huffington Post).
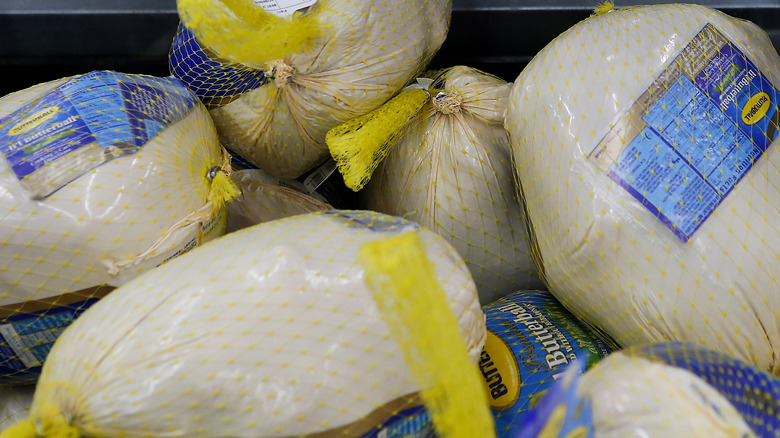
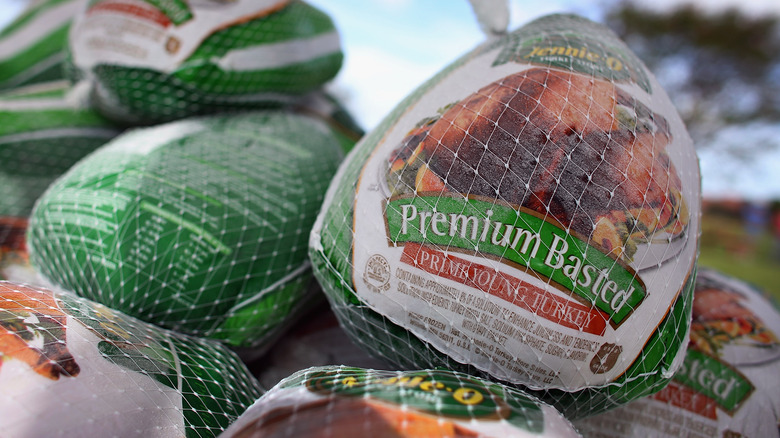
There is one important thing you need to watch out for before deciding whether or not to brine your turkey, and that's this: A lot of turkeys have already been brined. One famous example is the Butterball turkey, which has actually been injected with brine. If you brine one of these turkeys, Chef Works says you'll end up with something that is over-salty. Other turkeys — even the generic store-brand ones — have been pre-basted. These turkeys don't really need to be brined, either, and if you do brine them, you'll have the same problem — an over-seasoned bird.
If you do want to brine your bird yourself, read the label and make sure you're buying something that hasn't been pre-treated. You may actually find that it's harder to find an unbrined turkey just because most of the major producers like Jennie-O and Butterball do pre-brine or pre-baste their turkeys. On the flipside, pro-briners do say that brining a turkey yourself will lead to a much more juicy turkey. And anyone who's ever had a dry Thanksgiving turkey knows that is a worthy goal.
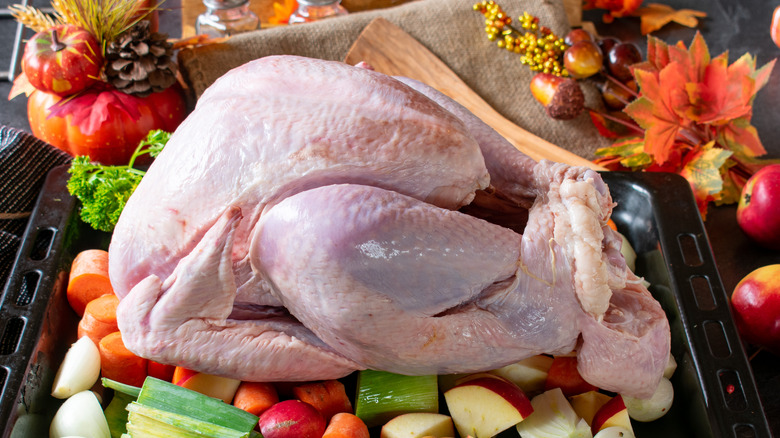
Don't cook right from the fridge
You will have, of course, begun thawing your frozen turkey several days before Thanksgiving. Taking the turkey out on Thanksgiving morning and discovering that it's still too frozen to cook is a great way to put a terrible start on your holiday dinner. Assuming you didn't miss that important part of the equation, the next step is to put your completely-thawed turkey on the counter and walk away from it for an hour.
Now, since turkeys take like 150 years to cook, you may be wondering why you would want to add an extra hour to your food-prep time, or get up an hour earlier on Thanksgiving morning because Grandma for some reason always wants to have dinner at 2 p.m. Well, according to Williams-Sonoma, letting your turkey sit at room temperature for an hour helps ensure it will cook evenly. It will also cook faster if it's brought to room temperature.
A special note: you don't really want it sitting out for more than two hours, because bacteria does grow at room temperature and there's nothing quite like poisoning your entire family on Thanksgiving day to ensure you won't have to be the host again next year.
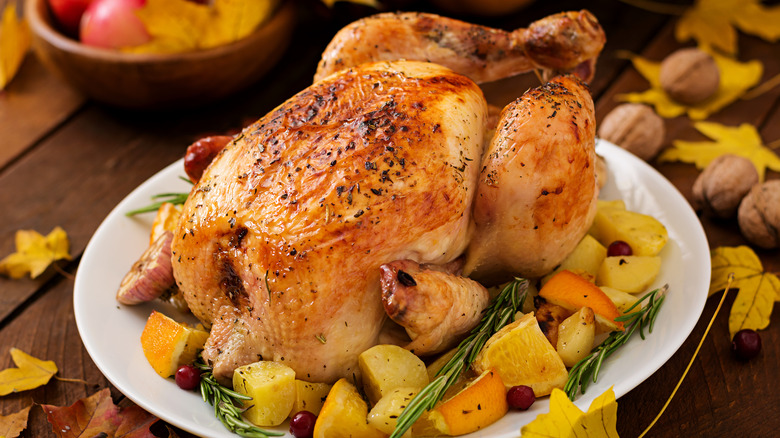
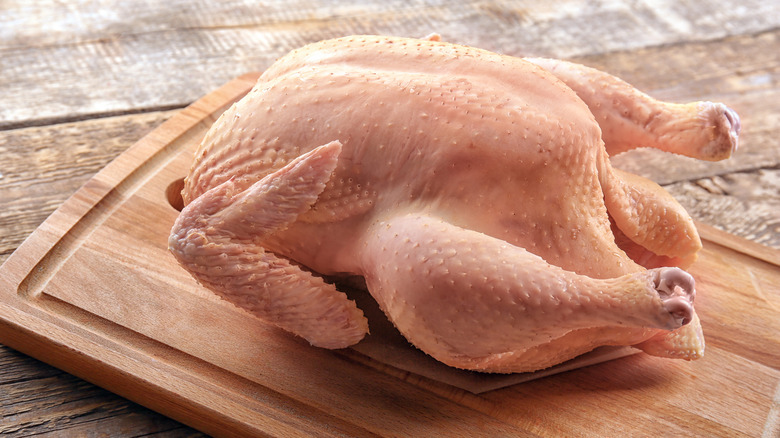
Dry the skin first
The Holy Grail of turkey roasting is making sure that you get a golden brown, crispy skin, so you'll find a lot of turkey roasting tips have this as an end goal. Even if you're not a fan of eating the crispy skin, you will certainly agree that it looks beautiful on the finished bird. But getting crispy skin can be elusive for a lot of home cooks. That's because you can't just pop a turkey in the oven and expect it to do all of the work for you. There are a few tricks to getting a crispy skin, and some are so simple you might be shocked you haven't tried them before.
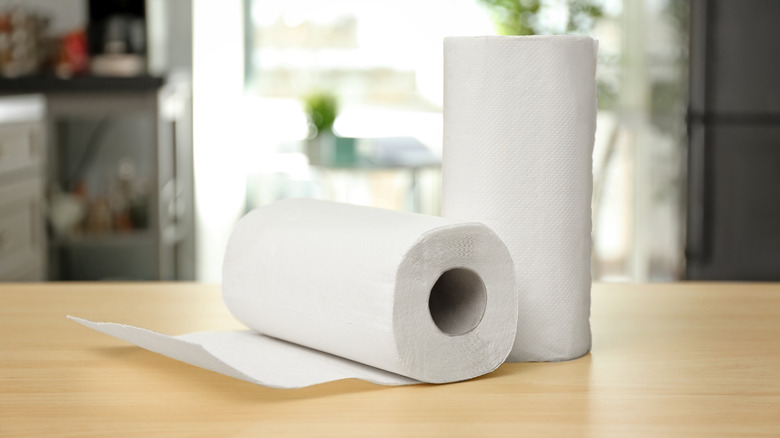
Here's the first one: Make sure the turkey's skin is dry before you put it in the oven. You can do this a couple of ways. According to the The Kitchn, you can simply dry the skin with a paper towel. Simply Recipes suggests you can also let your turkey sit uncovered overnight or up to 24 hours in your fridge, but this can be a bit dangerous depending on what else you've got in there. You don't really want your turkey tasting like last week's leftovers, so if you're going to dry the skin out in the fridge just to be aware of what else is sharing space with your turkey.
Tuck the wings so they don't burn
The trouble with turkeys is that there's a lot of meat (both white and dark), there's a lot of bone, and different parts of the turkey have different ratios of one to the other. According to Seeker, dark meat is denser than white meat, so it doesn't cook as quickly. And you have parts of the turkey, like the breast, that are thick and other parts, like the wings, that have just a little bit of meat and a lot of bone. So the end result is, it's just hard to get everything to cook evenly. If you cook the breast meat to perfection, you may have undercooked dark meat. If you cook the dark meat to perfection, you may have dry white meat. And in both cases, you may have wings that are so scorched they end up going straight in the trash.
Domino writes that you can avoid at least the last part of the problem by tucking the wings before you put the turkey in the oven. To do this, you grab the wing, lift the turkey, and tuck the wing under the back. (Obviously, you'll want to do this with both wings.) An added benefit of wing-tucking is that it also helps the bird cook more evenly.
Don't truss your turkey
If you learned how to cook a turkey 20 years ago from a fancy cooking magazine, or even from your grandma, you probably believe that turkeys must be trussed. Trussing a turkey, in case you haven't actually heard that expression, just means tying the turkey's legs together with kitchen string. Why would you do this? Hasn't the poor bird been through enough? Mostly, trussing is just done to make the turkey look fancy when it's sitting there on a platter surrounded by roasted potatoes and Brussels sprouts.
Since trussing a turkey is kind of like biblical law when it comes to Thanksgiving dinner, it may actually surprise you to hear that not only is trussing not really necessary, but Lifehacker reports you may actually get a better result if you don't do it. That's because trussing pulls the legs of the turkey close to the body, which limits the airflow around the turkey as it cooks; the legs will cook slower, and you could end up with either undercooked legs or an overcooked breast. The first option could make everybody sick and the second option will just make them unhappy, so the best way to avoid both of these scenarios is to simply not truss your bird. It's neither necessary nor practical.
Season and brush with fat
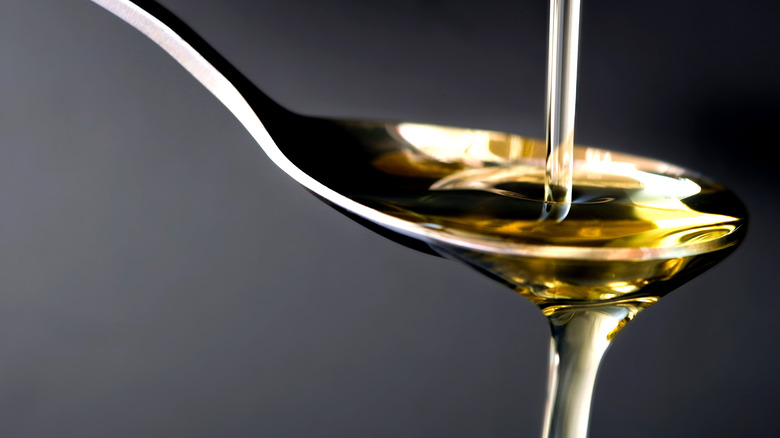
After you've removed as much water as you can from the outside of the turkey, you will want to season it and rub some fat into the skin. According to Taste of Home, the best way to season your turkey is to add the spices under the skin rather than on top of it. And remember, if you've brined your bird or it's pre-brined, you don't want to add too much additional salt. Instead, choose cracked black pepper and other traditional spices like thyme and rosemary, or branch out and add some non-traditional spices.
Just like an egg wash will make your biscuits golden, brushing your turkey with melted butter or olive oil will help it develop that golden brown color and contribute to the crispy quality of the skin. The Kitchn recommends oil over butter because butter does contain some water while oil does not. Since the point of drying the skin is to get rid of all that water, adding butter may be somewhat counterproductive — but if it's all you have, it's still preferable to sending your turkey into the oven naked.
Put the turkey on a roasting rack
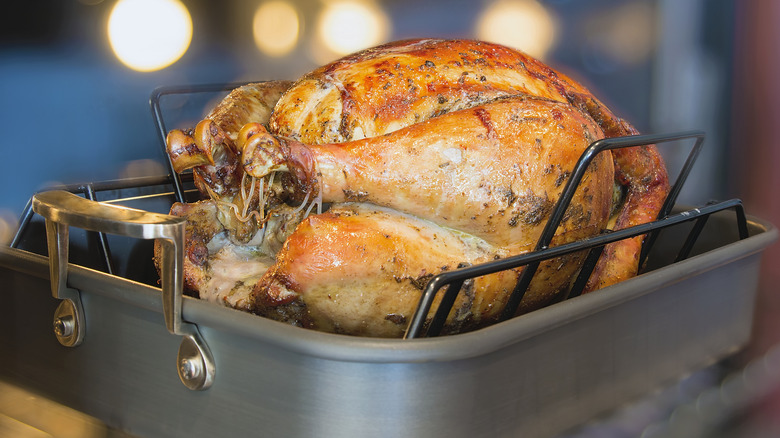
There's a lot of meat on one turkey, and most of us want to be sure we get to savor every scrap. Sometimes, though, parts of the turkey come out, well, sort of unsavory compared to the rest of the turkey, notably, the bottom part. The reason for the mushy undercarriage is because the turkey sits right on the bottom of the pan and spends most of the cooking time bathing in its own juices. The result is a turkey that's roasted on the top and stewed on the bottom. While stewed turkey is fine in a pot of turkey and dumplings, it doesn't really look great on a platter.
Happily, avoiding a mushy turkey bottom is pretty easy. According to the The New York Times, when you put your turkey on a roasting rack, that lets the heat move around the whole turkey, not just the parts that aren't touching the pan. If you don't have a rack you can improvise with coils of aluminum foil. The Kitchn also suggests you can compensate for your lack of a roasting rack by putting your turkey on a bed of vegetables, though it's worth noting that after a few hours in the oven under the south side of a turkey, those vegetables are going to be kinda mushy.
Tent the turkey with aluminum foil
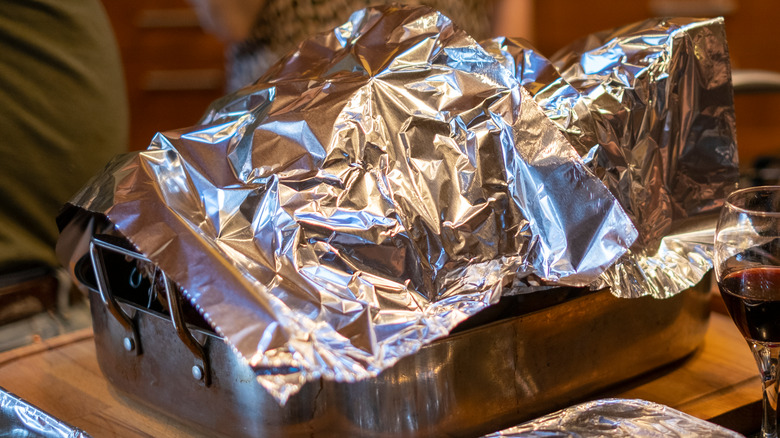
You want crispy skin, but you probably draw the line at burnt to ash. Unfortunately, burned skin is a common problem, especially if you're cooking a large turkey. The reason is pretty obvious — big turkeys spend more time in the oven, and as the part of the turkey the heat gets to first, the skin cooks before everything else does.
According to Huffington Post, the tent method is easy but does require you to keep an eye on your turkey. If the skin reaches that point of perfection but the internal temperature of the bird hasn't quite caught up yet, you can put a sheet of aluminum foil over the roasting pan to protect the skin from the heat. Make sure to seal the foil around the edge of one side of the pan, and leave the other side a bit loose so steam can get out. Otherwise, you're just undoing everything you did to get to that point, and you'll end up with beautiful golden brown but disappointingly droopy skin.
If your breast meat is almost done but the thighs are still playing catch-up, the The Kitchn notes that you can also use this trick (courtesy of the Buterball Hotline) to slow down the cooking on just the turkey breast: Just cover only the breast, and leave the rest exposed.
Put the turkey in the oven legs first
By now you are aware that the real trick to cooking a turkey is to make sure the meat cooks evenly. That way you don't end up with parts that are undercooked or parts that are overcooked. Dark meat cooks more slowly than white meat, and white meat gets dry if it's overcooked. Also, while the safe internal temperature of poultry is 165 degrees Fahrenheit, Cooks Illustrated says dark meat is actually better if you cook it to somewhere between 170 and 175 degrees. Not only does the dark meat cook slower, it also has to get hotter.
So how do you cope with this problem when you have to put the whole turkey in one oven? Well, according to Martha Stewart, one easy trick is to put the turkey into the oven legs first. Since ovens tend to be hotter in the back, the legs and thighs will get hotter faster and the whole bird will cook more evenly.
Start low, finish high (or the other way around)
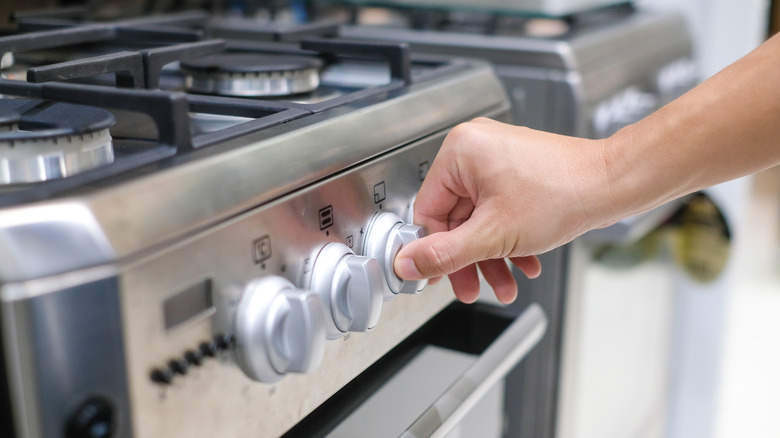
Cooking at two different temperatures will help with the aforementioned crispy skin issue. You'll find some disagreement about which way around you should do this, though. Taste of Home says you should start at 425 degrees Fahrenheit, then after about 40 minutes turn the temperature down to 325 or 350 degrees. This makes the cooking time go faster, and also helps make the skin crispy and brown.
Food Network, on the other hand, preaches the opposite. They recommend starting at 325 degrees, roasting for two hours, and then finishing the bird at 425 degrees.
Either way, the goal is ultimately the same — as long as your turkey isn't under the foil tent when the oven is up at that higher temperature, the blast of heat will add color and crispiness. If you also dried the skin and rubbed it with olive oil, you've got a pretty good chance of actually achieving the golden brown, crispy skin that's been alluding you all these years.
Forget about basting
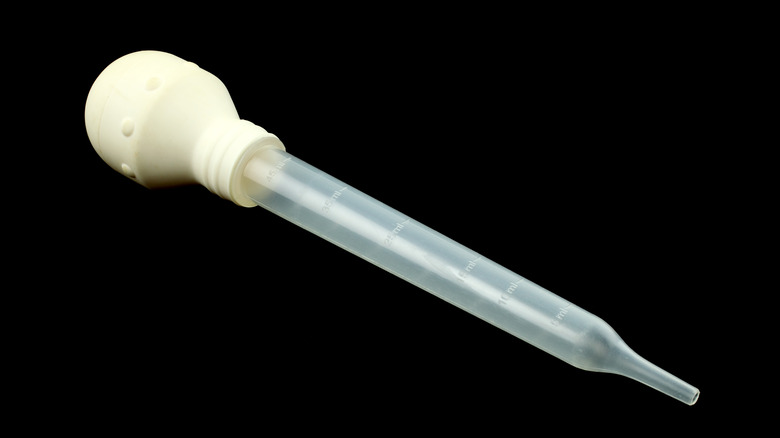
Another tip you probably learned from your grandma is basting. Basting is, in fact, so much a part of popular turkey roasting culture that there's even a special kitchen tool that only does basting and practically nothing else, except maybe moving hot liquid from one pan to another.
Basting, as reasoning would have it, keeps the turkey tender and moist and helps the skin get the aforementioned golden brown color. Except that is actually all mythology.
According to NPR, basting your turkey doesn't do anything for the flavor or the juiciness of the meat. That's because the liquid doesn't actually penetrate the skin, it just kind of slides off. You may get a little extra flavor on the skin, and because the liquid contains fat it somewhat contributes to the golden brown color. But you're already aware that you can achieve those things without basting.
The real problem with basting is that you have to keep opening up the oven and pulling the turkey out, and when you do that it lets hot air escape. The oven cools down, and it takes longer to finish cooking your turkey. That may or may not be a problem for you, but it is definitely a problem for Grandma since she wants to be done with dinner and on her way home by 3 p.m.
Don't use the pop out thermometer
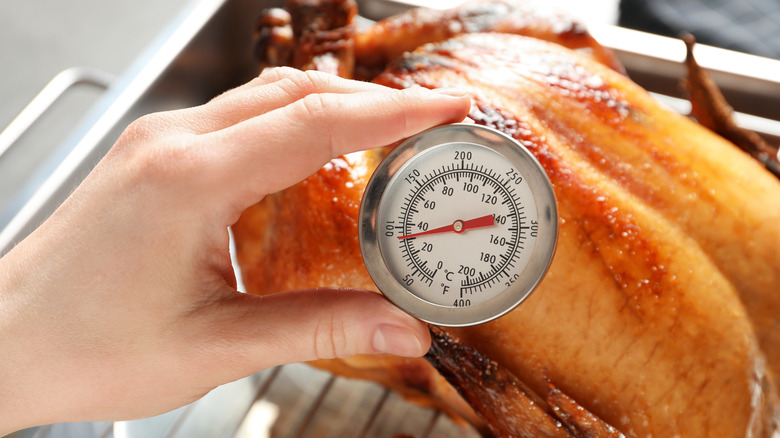
Most turkeys come equipped with a handy little pop-out thermometer. This thermometer is designed to be a fool-proof way to let you know your turkey is done cooking, and the reason why it's fool-proof is because the timer pops out way, way after the turkey is actually finished. In fact according to Cook's Illustrated, that little plastic timer typically pops out at about 178 degrees Fahrenheit, which is more than 10 degrees hotter than the safe internal temperature. So using the plastic pop-out thermometer is a great way to make sure you overcook your turkey. In fact, it's probably a safe bet that a large percentage of the world's dry turkeys got that way because of that stupid pop-out timer.
Instead, use a regular meat thermometer. Get one that has a cable so you can watch the temperature as the bird cooks, that way you don't have to keep opening the oven to check the temperature.
According to the Pittsburgh Post-Gazette, it's safe to remove your turkey from the oven when the breast meat reaches 160 degrees, though you also want to make sure your thighs are up to temperature, too. 165 degrees is the safe internal temperature for poultry, but the temperature will rise after you take it out of the oven, which means it is actually possible to overcook your turkey when it isn't even in the oven.
Always let the finished turkey rest
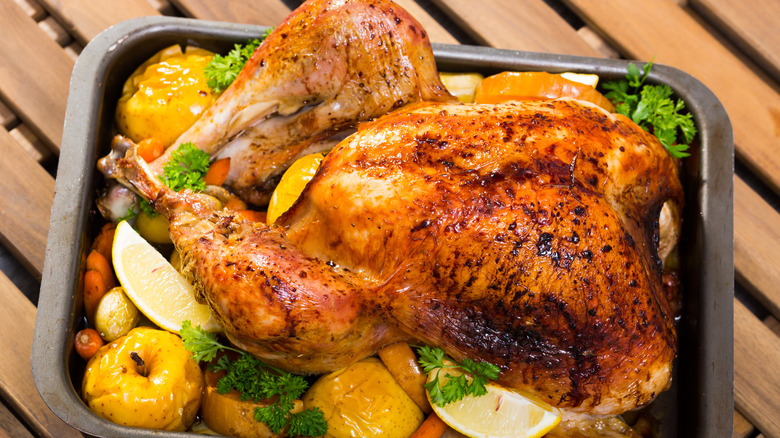
Everyone's been smelling turkey all day long, and everyone is super eager to sit down and finally eat some Thanksgiving dinner. But ... it's worth waiting just a little bit longer.
Another big reason why turkeys end up dry is because they get carved before they're ready. Meat of any kind should rest before you cut into it, but this is especially true for turkey because it's so good at becoming dry. According to Cook's Illustrated, resting lets the moisture settle into the meat, so you'll have a juicy bird instead of a dry one. If you cut into the meat right away — just after the turkey comes out of the oven — then all those juices run out and you end up with a big puddle of turkey broth and a platter of dry meat.
Let your turkey rest for around 45 minutes before carving it. That may seem like a long time, but if it's a big turkey, it's going to take a while for it to cool down anyway. In fact, you may find that even after 45 minutes the meat is still almost too hot to handle.
Take care with the stuffing
You have probably heard this already but it is worth repeating. According to Epicurious, the stuffing inside of the bird isn't going to heat up as fast as the bird does, mostly because it's in a nice cool little cavern right in the middle of the turkey. So if you pull your turkey out of the oven when it reaches 160 degrees Fahrenheit, there's a good chance that the stuffing may not ever make it to that safe internal temperature of 165 degrees. That means the stuffing, not the turkey, could actually be your biggest risk for food poisoning in the entire meal.
Some people, though, really like to eat stuffing right out of the bird. If that's you, Make very, very sure that the stuffing is 165 degrees or hotter — if it's not there's a good chance it's full of undercooked turkey juices that carry dangerous bacteria like salmonella. When in doubt, scoop the stuffing out of the cavity and throw it back in the oven for a few minutes with a meat thermometer to make sure it gets up to temperature. For the safest option, simply cook a batch of stuffing separately (which would technically make it dressing) and stuff it inside the turkey after the bird is done cooking (via NPR). Or alternately, just don't stuff the turkey. You can fill the cavity with onions to help impart flavor. There's no turkey-roasting rule that says you absolutely must stuff your bird.