Chocolate Easter Eggs Recipe
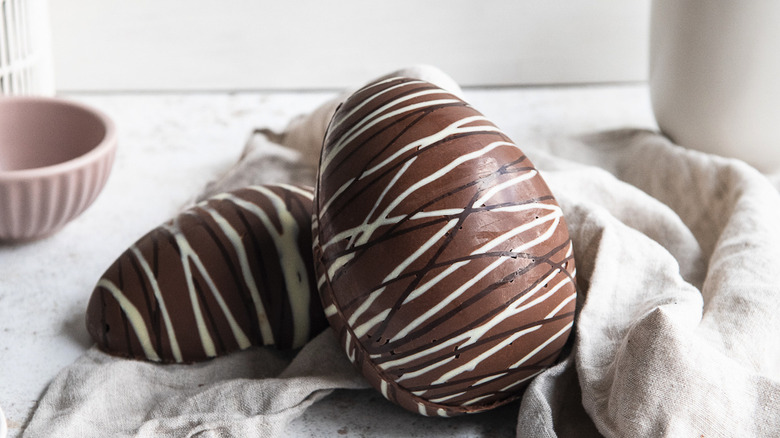
It's a tough call to know when to spill the beans and let your kids know that the Easter Bunny has actually been you all these years. But know what an easy call is? Skipping the jelly beans and making this year's go-to Easter treat homemade chocolate Easter eggs. Thanks to this recipe by chef and recipe developer Jennine Bryant of The Marshside Pantry, these oversized, gorgeous chocolate eggs look so good you'll almost hate when the kids tuck into them. That is, until you see the glowing smiles on their faces as they discover the treats hidden inside. (Which hey, those could even be jelly beans, if that's a household favorite.)
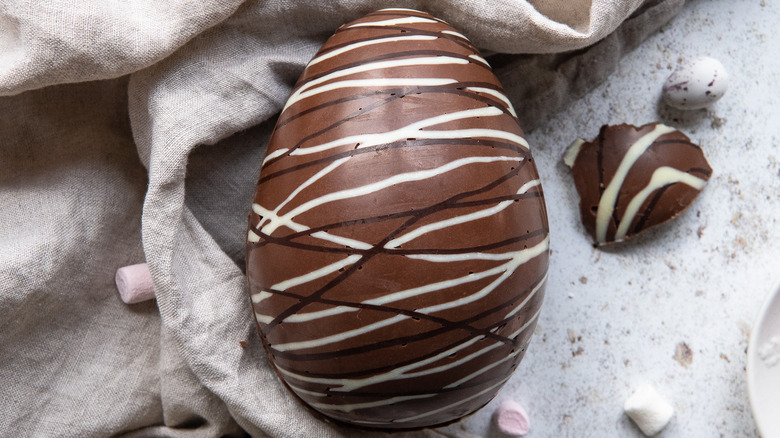
Just make sure you snap a few pictures before the eggs are eaten — after spending the better part of an hour making a chocolate egg or two, you deserve the credit! As for how you beautify the treats, that's up to you. Bryant says, "There are so many fun ways to decorate chocolate eggs, even just using white, milk, and dark chocolate. You can always try swirling the different colors of chocolate around, drizzle a zigzag pattern, or make an ombré chocolate egg. White chocolate also holds gel food coloring well — the first chocolate egg I made was pastel colors, made using white chocolate and various different colors of food dye."
So grab your chocolate and plastic egg molds, free your thinking, and let's make some sweets!
Gather your ingredients for chocolate eggs
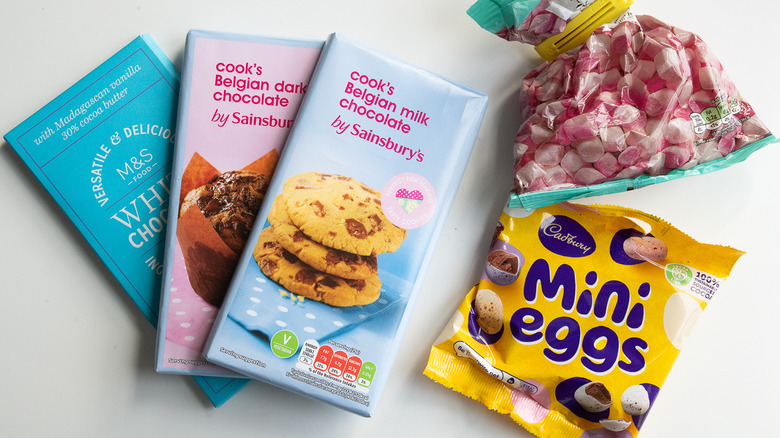
Aside from the physical egg mold, which is the inedible essential "ingredient" in this recipe, all you really need to make one giant chocolate egg or two smaller chocolate eggs (Bryant references a 6-inch mold for the larger, and two, 4-inch molds for a pair of smaller eggs) are 2 ounces of white chocolate, 2 ounces of dark chocolate, 6 ounces of milk chocolate, and whatever you want to use to fill the eggs. Bryant goes with mini eggs and mini marshmallows, but you can use whatever treats you want, really.
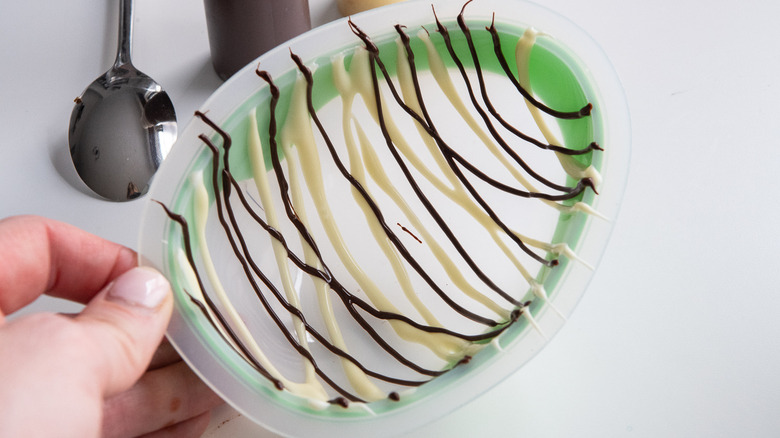
Drizzle the white and dark chocolate
First, prepare an Easter egg mold by cleaning it and allowing it to dry fully before use. As it dries, melt the white chocolate and the dark chocolate individually by placing them in separate bowls and microwaving them. Make sure to check the chocolate every 15-20 seconds and give it a stir to prevent the edges from burning. Remove the chocolate from the microwave before it's fully melted — the residual heat will finish the job.
Allow the white and dark chocolate to cool for 5 minutes, until they reach room temperature. Then, either using squeeze bottles or spoons, drizzle the white and dark chocolate alternately into both sides of the Easter egg mold in playful patterns. Place both halves of the egg mold into the fridge for 5 minutes to allow the drizzled chocolate to harden.
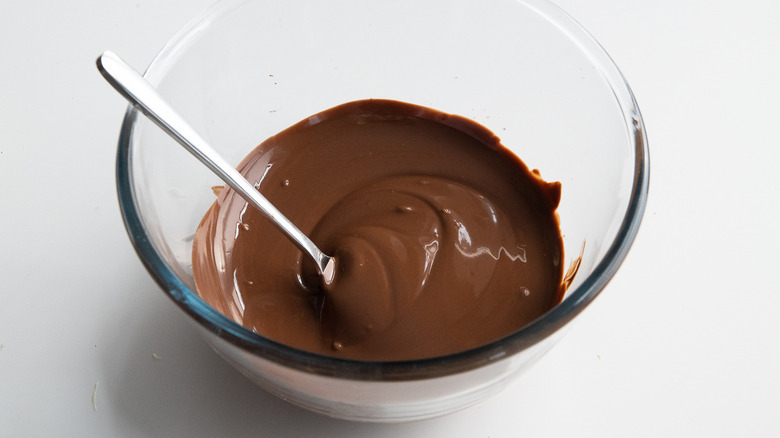
Meanwhile, melt the milk chocolate in the microwave, making sure to check its progress every 15-20 seconds. Remove the bowl from the microwave slightly before all the chocolate has melted and allow the residual heat to do the rest. Allow the chocolate to cool to room temperature before use.
Add the milk chocolate
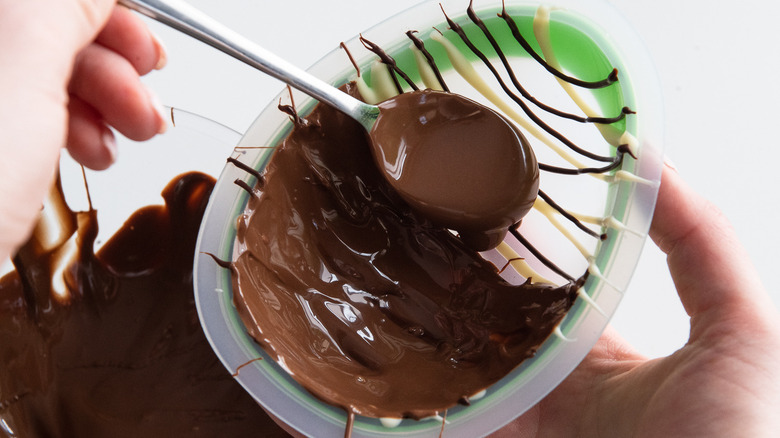
Remove the chocolate molds from the fridge and, using a spoon, spread out a layer of milk chocolate over the hardened white and dark chocolate drizzles. Make sure to apply a complete coat of the milk chocolate to each half of the egg mold before placing it back in the fridge for 5 minutes to harden.
Next, repeat the process once more, spreading a second layer of the melted, cooled milk chocolate onto the hardened first layer of milk chocolate, making sure to apply a complete and even coat of the chocolate. Place this in the fridge to harden for 15 minutes.
Fill and seal the chocolate eggs
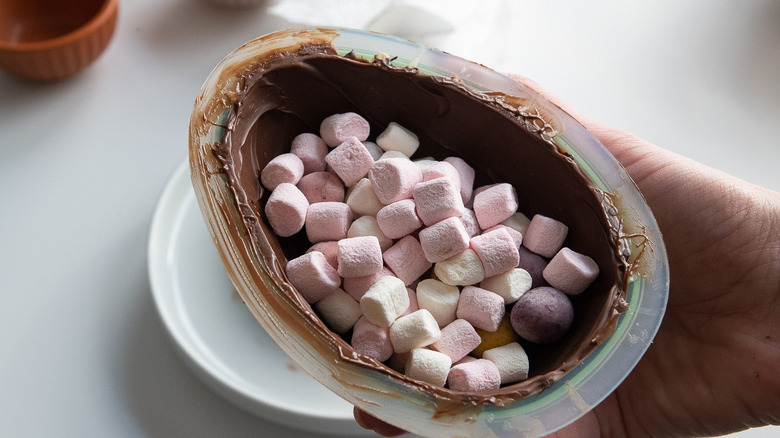
Once the chocolate has solidified, remove the two egg halves from the fridge. Place a medium-sized plate in the microwave — or in a warmed oven — until it's hot. Then, carefully place one of the egg molds upside down on the plate so the edges of the chocolate egg come in contact with the hot plate. This will melt the edges of the chocolate egg. Hold the chocolate there for 5-10 seconds, until the edges are properly melted. Repeat this with the second egg mold to end up with melted edges on both halves of the chocolate egg.
Place the mini eggs and mini marshmallows (or any preferred treats) in half of the chocolate egg, then place the other half of the egg on top, making sure to line up the melted edges. Hold this for 10-15 seconds, then carefully transfer the egg back to the fridge to allow the edges to harden and properly seal.
After 10 minutes, remove the chocolate egg from the fridge. Carefully remove the egg mold and enjoy!
And if it will be a bit until they're given as Easter gifts, Bryant says, "Once made, it's best to store them in a cool, dry place, away from any potential heat or light sources. So, either wrapped or boxed and in a cupboard. Technically, once made, the chocolate eggs can last for months ... but you'll want to eat them sooner than that!"
Tips for working with chocolate
As you work on these lovely chocolate eggs, heed these words from Jennine Bryant: "There are two important things to watch out for when making this Easter egg — or working with chocolate in general, really. To achieve shiny, evenly-colored chocolate, it's important to make sure that it is warmed and melted properly; officially called 'tempering.' [The chocolate] should be gradually warmed rather than have intense heat applied directly to it, and it shouldn't be overheated, as both of these things can affect the structure of the cocoa butter. This is why it's good to keep checking and stirring the chocolate while it's in the microwave, and why it's good to remove it before everything has fully melted."
So got that? Don't rush the melting! But also, don't rush to work with the melted chocolate, either. Bryant continues: "Secondly, the chocolate needs to be cool enough to work with. If it's too warm, it will be too runny, and instead of holding its shape, it will pool at the bottom of the egg moulds. So, when [the chocolate] seems to be about room temperature to the touch, it will be about right to use in the mold."
Chocolate Easter Eggs Recipe
You don't have to buy chocolate eggs for your kids' Easter baskets — you can make them yourself at home! This simple recipe makes beautiful chocolate eggs.
Ingredients
- 2 ounces white chocolate
- 2 ounces dark chocolate
- 6 ounces milk chocolate
- ¼ cup mini eggs
- 1 tablespoon mini marshmallows
Directions
- Prepare an Easter egg mold by cleaning it and allowing it to dry fully before use.
- Melt the white chocolate and the dark chocolate individually by placing them in separate bowls and microwaving them — make sure to check the chocolate every 15 to 20 seconds and give it a stir to prevent burning. Remove the chocolate from the microwave before it is fully melted — the residual heat will finish the job.
- Allow the white and dark chocolate to cool for 5 minutes until they have nearly reached room temperature. Then, using squeeze bottles or spoons, drizzle the white and dark chocolate into both sides of the Easter egg mold.
- Place both halves of the egg mold into the fridge for 5 minutes to allow the drizzled chocolate to harden.
- Meanwhile, melt the milk chocolate in the microwave, making sure to check its progress every 15 to 20 seconds. Again, remove the bowl from the microwave before all the chocolate has melted to allow the residual heat to do the rest. Allow the chocolate to cool to room temperature before use.
- Remove the chocolate molds from the fridge and, using a spoon, spread a layer of milk chocolate over the hardened white and dark chocolate drizzle — make sure to apply a complete coat of the milk chocolate to each half of the egg mold, then place it back in the fridge for 5 minutes to harden.
- Repeat the process once more, spreading a second layer of the melted and cooled milk chocolate onto the hardened first layer of milk chocolate, making sure to apply a complete and even coat of the chocolate. Place this in the fridge to harden for 15 minutes.
- Once the chocolate has solidified, remove the 2 egg halves from the fridge. Place a medium-sized plate in the microwave or in a warmed oven until it is hot. Then, carefully place one of the egg moulds upside down on the plate, so that the edges of the chocolate egg come into contact with the hot plate. This will melt the edges of the chocolate egg. Hold the chocolate there for 5 to 10 seconds until the edges are properly melted. Repeat this with the second egg mold to end up with melted edges on both halves of the chocolate egg.
- Place the mini eggs and mini marshmallows in one half of the chocolate egg, then place the other half of the egg on top, making sure to line up the melted edges. Hold this for 10 to 15 seconds and carefully transfer the egg back to the fridge to allow the edges to harden and properly seal.
- After 10 minutes, remove the chocolate egg from the fridge, carefully remove the egg mold, and enjoy!
Nutrition
| Calories per Serving | 826 |
| Total Fat | 49.3 g |
| Saturated Fat | 29.1 g |
| Trans Fat | 0.0 g |
| Cholesterol | 139.4 mg |
| Total Carbohydrates | 81.8 g |
| Dietary Fiber | 6.0 g |
| Total Sugars | 68.3 g |
| Sodium | 142.8 mg |
| Protein | 14.2 g |