The Best Ways To Melt Chocolate
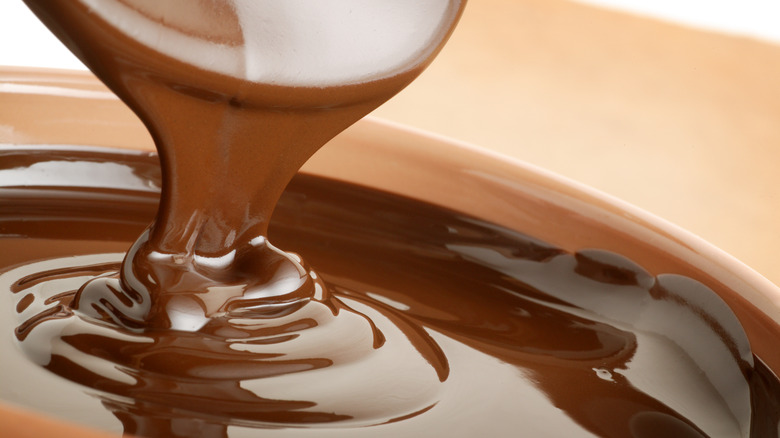
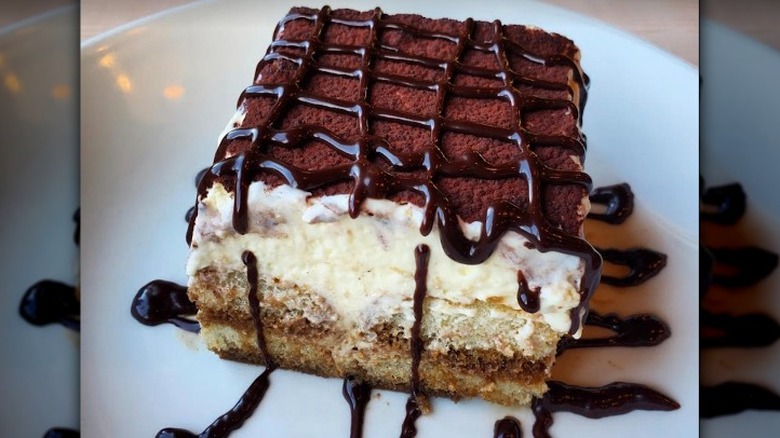
Melted chocolate plays a crucial role in some of our most indulgent dessert creations, ranging from cakes to truffles. Its rich flavor and smooth texture also add a delicious note when drizzled over fresh fruit, waffles, or scoops of ice cream. While the process of melting chocolate — we aren't talking about tempering chocolate here — may seem pretty straightforward, a single mistake can lead to a burnt, grainy, or clumpy end result.
Whatever method you choose to melt chocolate, there're certain steps that can ensure success. Firstly, it's important to chop up the block of chocolate into smaller pieces. Never use chocolate chips for melting, since they are full of stabilizers that will turn the liquified chocolate lumpy. It's also important to ensure that any utensils, including the melting bowl spatula, that come into contact with the chocolate are completely dry. This is because even a tiny droplet of water can make the chocolate become unusable.
When it comes to melting chocolate, slow and steady wins the race. In particular, using low heat and frequently stirring the chocolate as it melts can prevent it from overheating and burning. It's also important to remember that different types of chocolate have different melting points — dark chocolate melts at 115 degrees Fahrenheit, milk chocolate at between 104 and 113 degrees Fahrenheit, and white chocolate at between 99 and 109 degrees Fahrenheit.
The stovetop method
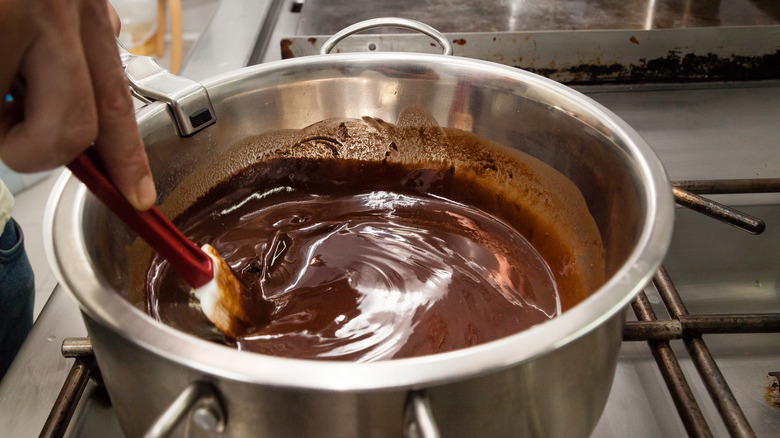
Perhaps the most obvious — and one that beginners may opt for — method of liquifying chocolate involves placing it directly on a stovetop in a saucepan or a skillet. While this approach works well, it does require some careful handling. This is because subjecting chocolate to excessive heat can make it grainy or scorched.
To maintain the quality of your chocolate, it is crucial to avoid exposing it to too much heat. Instead, place the chocolate over the lowest heat setting possible and periodically stir it to promote even heating. It's important to pay particular attention to the edges of the saucepan or skillet, as those are the most prone to overheating. Even if the process is taking a little longer than expected, it's important to keep the heat low. In addition, it's important to remember that white and milk chocolates melt faster than dark chocolate, so they may require a little extra attention.
The double boiler method
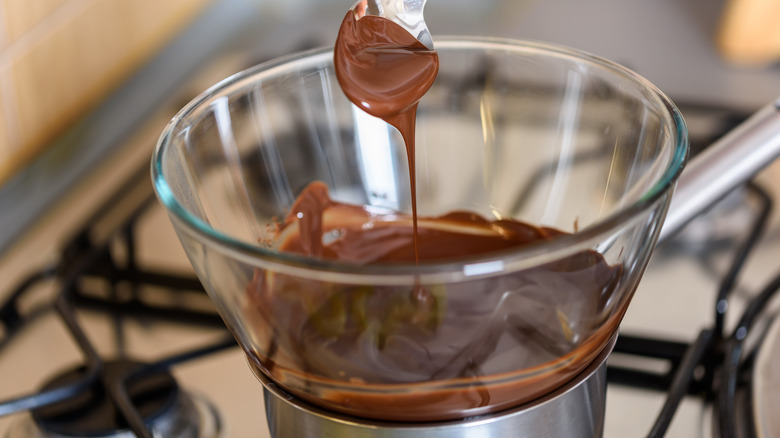
While it's possible to melt chocolate directly on the stove, the double boiler method is a much safer bet when it comes to ensuring that you don't accidentally burn the goods. Also great for melting butter, the double boiler technique involves filling a saucepan with one inch of water and positioning a metal bowl with your chocolate over it. As the water in the pot simmers, it will generate steam that will slowly melt the chocolate inside the metal bowl.
While you can easily purchase double boilers online, it's also possible to make your own version of the kitchen tool at home. For best results, find a glass or stainless steel bowl — this can be a mixing bowl — that's large enough to avoid contact with the bottom of the saucepan you're using. Remember to stir the chocolate continuously while it melts, paying special attention to the edges of the bowl to prevent any potential scorching. Best of all, if you're melting chocolate for dipping, you can easily maintain its warmth by keeping it in the double boiler on low heat.
The water bath method
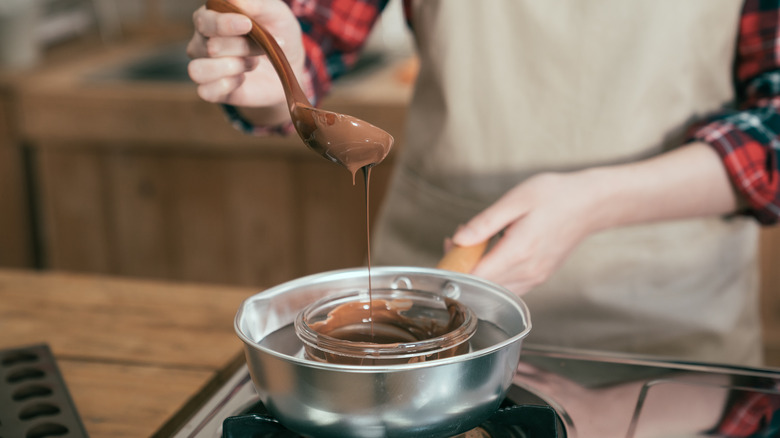
Very similar to the double boiler method, melting chocolate in a water bath — or a bain-marie, as the French like to call it — entails a metal bowl and a skillet or a large pot. The key distinction between this method and the double boiler technique lies in the placement of the bowl directly in the water. The water bath method is a great alternative to the double boiler approach if you don't have a bowl large enough to hover over the water.
Once the water in the saucepan starts to simmer, the heat on the stove is switched off, with the chocolate liquifying using residual heat rather than steam. Don't worry if the bowl doesn't just come in contact with the water but also the bottom of the pan. The entire melting process shouldn't take longer than a few minutes, with the chocolate sometimes melting even before the stove is switched off, depending on the quantity and chocolate type.
The microwave method
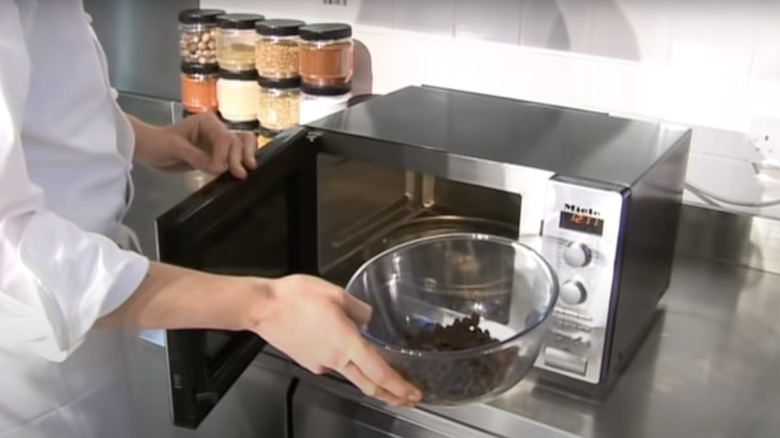
Perhaps the fastest way to melt chocolate is by placing it in the microwave. All you'll need to start the process is a microwave-safe bowl and a mixing spatula or spoon for stirring. Just be sure to take it out of the bowl each time you return it to the microwave after stirring — particularly if you're dealing with a metal utensil.
Perhaps the biggest downside of melting chocolate in a microwave is the ease with which you can accidentally burn it, especially considering the varying functionality of different microwave models. Even the briefest momentary of inattention can result in the chocolate becoming scorched. For best results, set your microwave on a low to medium setting and stir the chocolate every 15 to 30 seconds. Be sure to use kitchen gloves or a towel when handling the bowl, as it's likely to become quite hot. The entire melting process should take between 2 and 4 minutes, however, the results will vary depending on the chocolate type and size. To prevent overheating, remove the hot chocolate from the microwave before it's completely melted and stir it to complete the job.
The electric fondue method
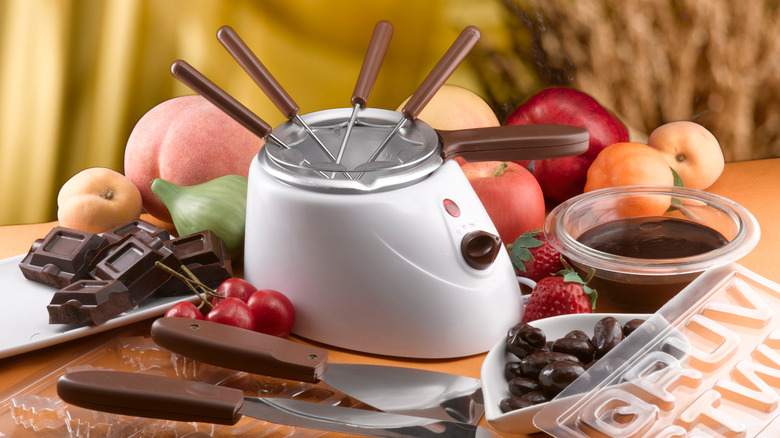
Originally designed for melting cheese, electric fondues are also ideal for getting chocolate to the perfect consistency for dipping. Whether it's dipping fruits, vegetables, or marshmallows, fondues make an excellent centerpiece for parties and other gatherings. Some fondue machines even come in the form of three-tiered fountains that can add a touch of elegance to an occasion.
Typically made from stainless steel, electric fondue sets usually come with color-coded forks, a splatter guard, and a separate heating base for easy cleaning. Best of all, they are flameless, which not only makes them safe but ensures that you won't burn your chocolate during the melting process. Once your chocolate liquifies, you can serve it in a bowl or dip your ingredients right in the fondue pot.
While it's possible to melt chocolate in a fondue, recipes for chocolate fondue often also contain milk and whipped cream for added flavor and texture. Some other ingredients that frequently make an appearance in fondues include cinnamon, peppermint, chili flakes, and even Bailey's Irish cream or Amaretto.
The plastic bag method
Ideal for drizzling or decorating your culinary creations with melted chocolate, the plastic bag method is both efficient and precise. Best of all, all you need to make your edible works of art is a bowl and a resealable plastic bag (a sandwich Ziploc bag is a great option).
To kick the process off, fill the resealable plastic bag with small pieces of chocolate and seal it. Feel free to place the bag in another plastic bag if you're concerned about having a tight seal — remember that water is the sworn enemy of chocolate. Next, pop the bag in a bowl of hot water. It's important that the water isn't boiling, since it could not just scorch the chocolate but also melt the plastic. To ensure that the chocolate melts uniformly, you can remove the bag from the hot water from time to time and massage it. Once the chocolate melts, cut off a tiny corner of the bag with a pair of scissors and get ready to drizzle.
The oven method
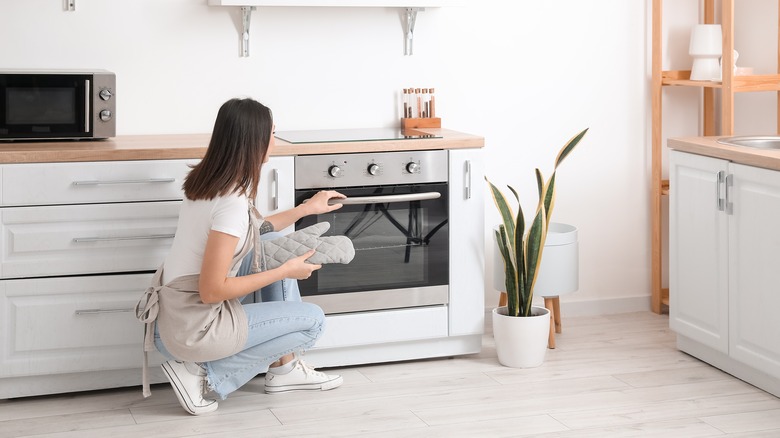
While the oven takes longer than most other ways of melting chocolate, it's also one of the methods least likely to lead to scorching or burning. As such, it doesn't require the continuous supervision of the stovetop or microwave methods. In addition, this method is ideal for melting large amounts of chocolate.
Once you break the chocolate into smaller pieces, place it in a heat-proof bowl and set the oven to a very low temperature — around 150 degrees Fahrenheit should do the trick. Stir the chocolate every few minutes until it's almost entirely melted and let residual heat take care of the rest. Alternatively, you can also use an instant-read thermometer to keep an eye on the confection's temperature. While the entire melting process shouldn't take longer than 15 minutes, the exact time will depend on the temperature of the oven and the amount of chocolate you're melting.
The slow cooker method

Also known as crock pots, slow cookers are designed to cook food over several hours to develop its flavor and texture. To use a slow cooker, simply add the ingredients, set the desired temperature, and let the appliance do its job. Many people appreciate slow cookers because they can get on with other projects while the device takes care of the cooking process.
To melt chocolate in a slow cooker, place it inside the appliance and set the temperature to high. After around an hour, lower the temperature and cook for another hour or until the chocolate is melted. To ensure the best results, stir the chocolate every 15 minutes. Alternatively, if you're not in a hurry, set the slow cooker on low. While this will achieve the same result, the entire process will take around five or six hours, after which you should turn off the heat and let the chocolate sit inside the device for another couple of hours. If the melted chocolate gets too hot, you can add another few pieces of chocolate to the mix to cool it down.
Another way to melt chocolate in a slow cooker involves filling the appliance with a few inches of water to make a water bath. Put the unmelted chocolate in mason jars and place the jars inside the water before setting the cooker on high. Leave the cover off to stop any moisture buildup, and stir every half an hour.
The heating pad method

Perhaps the most imaginative way of melting chocolate involves the use of a heating pad. Yes, you read that correctly — a heating pad. Invented by the television personality and writer Alton Brown, the method has been documented in his cookbook "I'm Just Here For More Food."
While presumably not suited to melting milk or dark chocolate types, Brown swears that the technique melts white chocolate to perfection. Start by putting a heating pad in a large bowl and then place a smaller bowl with the unmelted chocolate on top of it. Plug the heating pad into an outlet, set it on low, and watch in amazement as its heat melts the white chocolate. While the process may take a while, it does come with multiple advantages. Unlike other methods, it eliminates the need for water and the risk of the chocolate seizing up. Furthermore, it can be performed anywhere with an outlet, not limiting you to the confines of the kitchen.