Mistakes To Avoid When Cooking With Your Stand Mixer
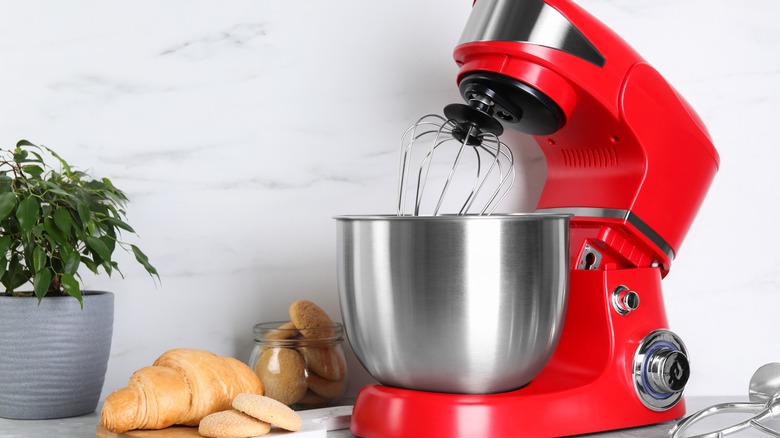
Stand mixers can make a range of cooking tasks a whole lot quicker and easier. But using them isn't always as simple as we might like. If you want to be a whizz in the kitchen, there are all kinds of mistakes to avoid when cooking with your stand mixer. Some of them are obvious — although understandable — while others are less common but still worth mentioning.
A stand mixer is a versatile tool that can make the process of baking and cooking significantly more efficient, turning mundane tasks into a breeze. However, like any kitchen gadget, the stand mixer comes with its own set of challenges. Novice and experienced cooks alike may find themselves making common mistakes that can impact the outcome of their culinary creations.
In this article, we delve into the world of stand mixer mishaps, unraveling the pitfalls that could jeopardize the success of your recipes. From improper ingredient incorporation to overworking your batter, we'll explore the missteps that may be compromising your culinary endeavors. Join us as we uncover the secrets to achieving culinary excellence with a stand mixer while steering clear of the mistakes that might trip you up.
Not adjusting the beater-to-bowl clearance

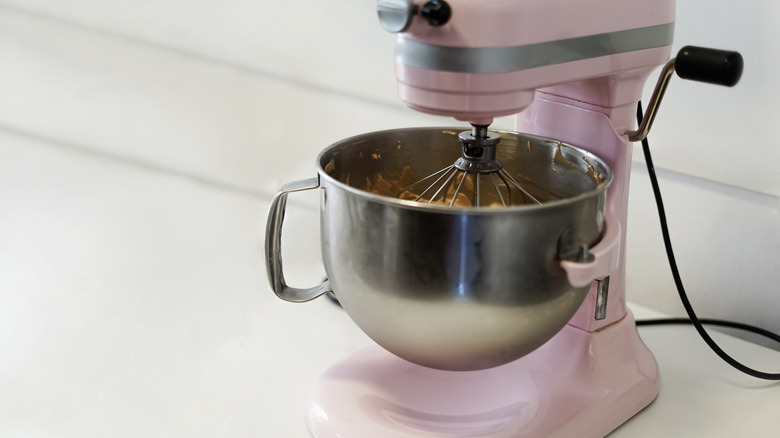
Failing to adjust the beater-to-bowl clearance on a stand mixer is one of the most common errors and it can make whipping cream or mixing batters slow, inefficient, and uneven. What's more, so many home cooks don't even know what it means. Beater-to-bowl clearance in a stand mixer refers to the space or gap between the mixing attachment (beater, whisk, or dough hook) and the sides or bottom of the mixing bowl. The right clearance is crucial for ensuring proper and effective mixing during the cooking or baking process.
The optimal beater-to-bowl clearance allows the mixing attachment to efficiently reach and incorporate ingredients without causing excessive wear on the beater or the bowl. It ensures thorough blending, whipping, or kneading of ingredients while preventing the attachment from scraping against the bowl, which could lead to uneven mixing or damage to the equipment. Basically, you don't want a gap between the beater and the bowl, but you don't want the beater scraping heavily on the bowl, either.
Ideally, your mixer should come with the right beater-to-bowl clearance, but use can shake things loose and increase the gap, so you might need to adjust it every now and then. How you adjust it varies from mixer to mixer, so check the instruction manual if you don't know how to do it.
Starting on high
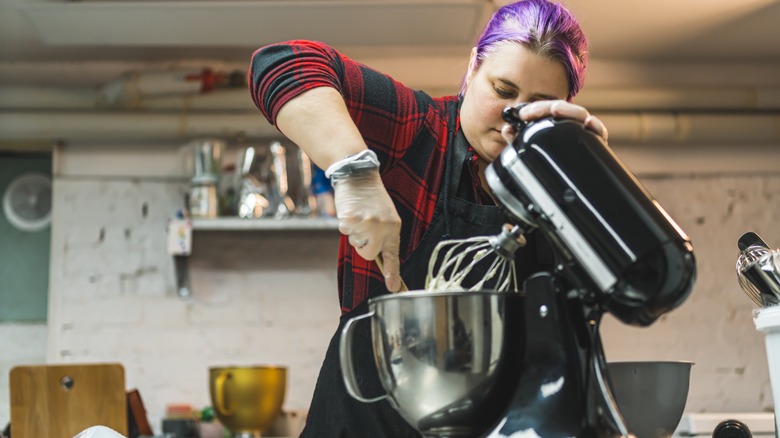
You want to mix your ingredients quickly and thoroughly so starting your stand mixer on high might seem like it makes sense — but you'd be mistaken. Starting a stand mixer on the highest setting immediately is a bad idea for a few reasons.
When you begin mixing at high speeds, especially if you have a full bowl of ingredients, there is a higher chance of splattering. This can lead to a messy kitchen and even result in some of your ingredients being wasted or unevenly distributed in the mixture. Starting at a lower speed also allows the ingredients to be gently combined before the mixer moves to higher speeds. This gradual approach helps prevent dry ingredients from flying out of the bowl and ensures a more even distribution of wet and dry components. Plus, if you're whipping egg whites, you'll get a more voluminous result by starting on low.
Then there's the risk of over-mixing your ingredients. Certain recipes, especially those involving delicate batters or doughs, may be adversely affected by over-mixing. Beginning at a high speed right away can increase that risk, which can negatively impact the texture and quality of the final product. Starting a mixer on the highest setting can put unnecessary strain on the motor and other components. Gradually increasing the speed allows the mixer to ramp up smoothly and reduces the likelihood of putting excessive stress on the machine.
Using too high a speed when kneading dough

For most recipes, it's fine to start on low and then move to a high speed setting, but there are some occasions when you shouldn't ever go beyond the lower speeds. The most notable of these is when you're kneading dough. But why is this? Isn't faster always better? The main reason to stick to lower speeds is because of the strain on the mixer's motor. Kneading dough can be a demanding task for a stand mixer. Using too high a speed for an extended period may strain the motor and other components, potentially leading to overheating and premature wear and tear on the machine.
There's also the risk of over-kneading your dough, which is near-impossible to do by hand but easier to do with a stand mixer. You can also cause other gluten development issues. Dough typically requires controlled gluten development for proper structure and texture. High-speed mixing can cause gluten to develop too quickly and excessively, resulting in a tough and dense final product. A slower speed allows for gradual and even gluten development, contributing to a better-textured dough.
To avoid these issues, it's generally recommended to use a lower speed setting when kneading dough with a stand mixer. Follow the guidelines provided in your recipe and the manufacturer's recommendations for your specific stand mixer model. Most manufacturers recommend sticking to low or medium-low speed settings for kneading dough — roughly speeds 1 to 3.
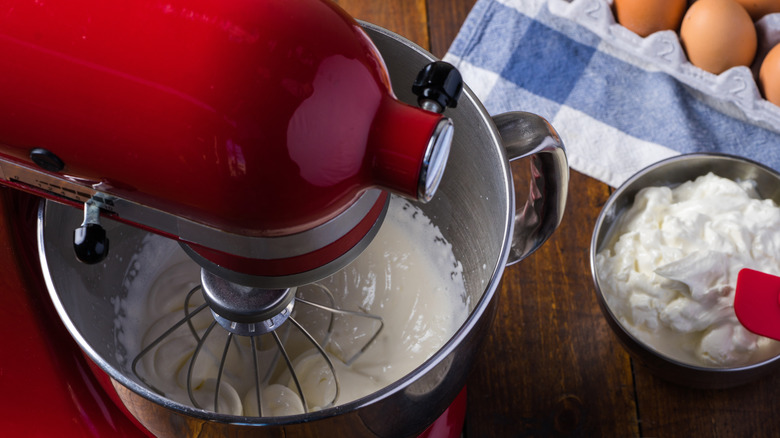
Not chilling the bowl when necessary
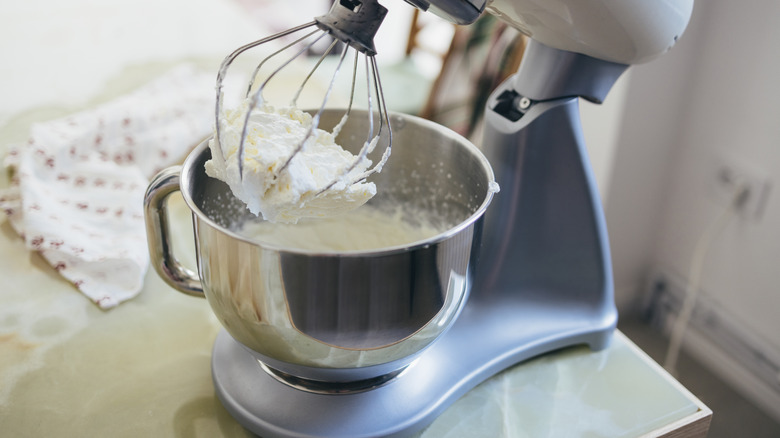
Although you don't need to do it every time, there are some occasions when it's a good idea to chill your mixer bowl. Chilled bowls are essential for achieving the best results when whipping cream or beating egg whites. Lower temperatures help these ingredients reach their desired peaks more quickly and maintain their structure. This is especially crucial for achieving stiff peaks, which are essential for recipes like meringues, mousses, or certain frostings.
For recipes that require the use of a stand mixer to knead dough, such as bread or pastry dough, a chilled bowl can help keep the dough at an optimal temperature. This is particularly beneficial when working with buttery or laminated doughs, where maintaining a colder temperature is crucial to achieving flaky layers.
However, in recipes where you want your ingredients to be at room temperature, chilling your bowl is counterproductive. You've taken the time to wait for ingredients like butter and eggs to rise to room temperature and now you're cooling them down again. So, for the best results, chill your bowl for recipes that need it, but avoid chilling it for other recipes.
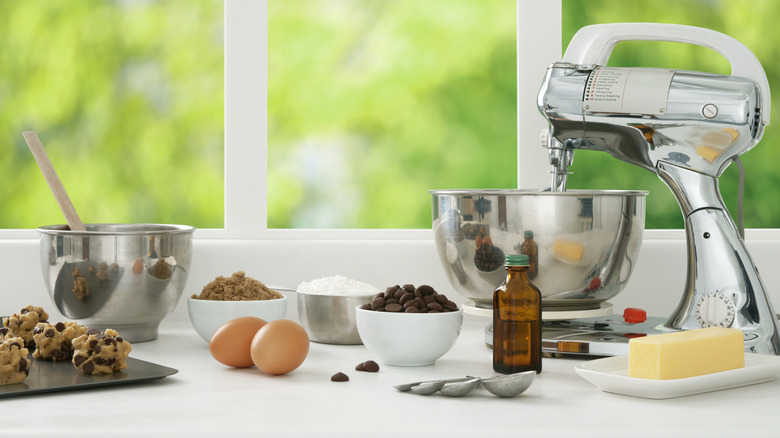
Using the wrong attachment
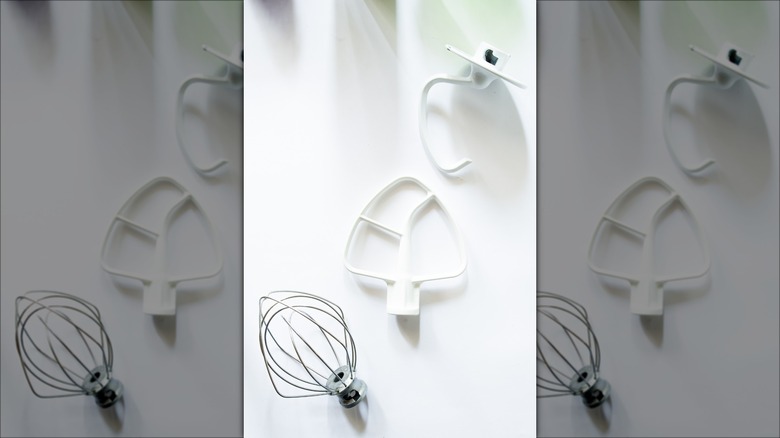
Stand mixers usually come with three to four attachments. It's important that you use the correct one for the task at hand. Your mixer will almost definitely come with a flat beater, balloon whisk, and a dough hook. It may come with a flexi-beater — and if it doesn't, we'd recommend buying a compatible one separately.
First, the flat beater. This is a versatile attachment used for general mixing, creaming, and beating tasks. It is ideal for incorporating ingredients like butter, sugar, and flour in recipes for cookies, cakes, and batters. You also have a wire whisk or balloon whisk, which is designed for whipping, aerating, and incorporating air into the ingredients. It is commonly used for making whipped cream, meringues, mousses, and light and fluffy batters. The wire design facilitates the incorporation of air, resulting in increased volume and a lighter texture in the final product.
The last standard attachment is the dough hook. It's specifically designed for kneading and mixing yeast doughs for bread, pizza, or other baked goods. Its unique shape allows it to efficiently work through the dough, developing gluten and promoting proper elasticity. This attachment is essential for recipes that involve yeast fermentation. If you're lucky, you'll also get a flex edge beater with a flexible silicone or rubber edge that scrapes the sides and bottom of the mixing bowl as it rotates. It does what a standard beater does, but minimizes the need to stop and scrape the bowl manually.
Making a mess
If you're always making a mess with your stand mixer, you could be making some of these common mistakes. Firstly, you might be starting your mixer on too high a setting. Begin mixing at a low speed, gradually increasing as needed. This helps prevent ingredients from splattering out of the bowl, especially when you're working with dry ingredients that could easily become airborne, like flour or cocoa powder.
You should also be using any accessories our stand mixer came with to prevent messes. Some stand mixers come with a splash guard or pouring shield accessory. You can use this attachment to cover the top of the bowl during mixing. The splash guard helps contain ingredients within the bowl, reducing the risk of splatters and keeping your kitchen clean. If your stand mixer doesn't have a splash guard, or if you want an additional layer of protection, you can cover the top of the bowl with a clean kitchen towel. This makeshift barrier can help prevent ingredients from escaping the bowl and creating a mess.
Using cold ingredients
Although there are some exceptions (such as making shortbread or certain types of pastry), you should generally avoid using cold ingredients in your stand mixer. In most cases, your ingredients should be at room temperature before you begin mixing.
Cold ingredients don't integrate into a batter or other mixture as seamlessly. This can leave you with a lumpy mixture instead of one that's perfectly smooth. Rapid temperature changes in ingredients can affect the overall consistency of the mixture. For example, adding very cold eggs to a batter at room temperature can cause the batter to seize or become lumpy due to the temperature shock.
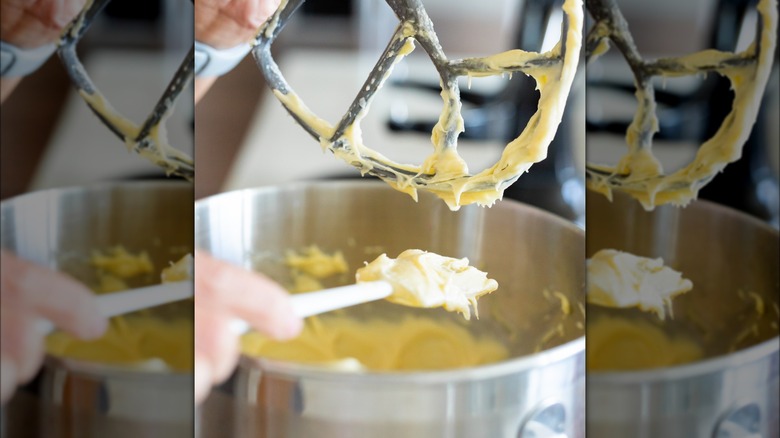
When creaming butter and sugar to create a light and fluffy texture (common in recipes like cookies and cakes), it's generally recommended to use softened or room-temperature butter. Cold butter doesn't cream as effectively, leading to a less airy and tender texture in the final product. Plus, when making yeast-based doughs, using very cold liquids or ingredients can slow down the activation of yeast. Yeast activity is essential for dough rising, and delaying this process may result in longer proofing times or uneven fermentation, ultimately affecting the quality of bread or other baked goods.
Not scraping the bowl
When using a stand mixer, you might notice how some of the ingredients end up spread up the sides of the bowl. It might be annoying to stop the mixer and sort it out, but it's a mistake not to scrape down the sides of the bowl while using your mixer. Ingredients tend to accumulate on the sides and bottom of the mixing bowl, especially during the early stages of mixing. Scraping the bowl ensures that all ingredients are evenly distributed throughout the mixture. This promotes uniform flavor, texture, and color in the final product.
Some ingredients, such as flour or sugar, may form clumps or pockets along the sides or at the bottom of the bowl. Scraping helps break up these clumps and ensures they are fully incorporated into the mixture. This prevents uneven pockets of ingredients in the finished product.
Scraping the bowl helps achieve a homogeneous mixture, which is vital for recipes like cookie dough, cake batter, or frosting. Homogeneity ensures that each portion of the mixture has a consistent composition, resulting in a balanced and well-rounded flavor. It can also ensure a consistent texture in the mixture. Without scraping, certain areas of the batter or dough may be over-mixed, while others remain under-mixed, leading to variations in the final outcome.
Sticking utensils in while the mixer is running
Yes, we know you want to get in there and scrape the bowl or taste the mixture, and it can be annoying to have to keep stopping and starting your mixture, but you should never stick utensils in your bowl while the mixer is running. Firstly, there's the risk of injury. If your hand accidentally gets in the mixture or a utensil snaps and flies up, you could end up getting hurt.
That aside, inserting utensils into a moving mixer can damage both the utensils and the mixer itself. The beaters or dough hooks are designed to interact with the ingredients in a specific way, and introducing foreign objects can disrupt the intended mixing process and potentially damage the attachments or the mixer's motor. Instead, you should always wait for the mixer to come to a complete stop before inserting any utensils. This ensures that you won't accidentally come into contact with moving parts, or damage your utensils or your mixer.
Over-mixing ingredients
Over-mixing ingredients in a stand mixer is a common mistake that can negatively impact the texture, structure, and overall quality of your recipes. But why does it happen? One of the main culprits is letting the mixer run for too long. This is particularly relevant for delicate batters, where prolonged mixing can result in a dense or tough final product. It's also a common misstep if you're used to mixing batters by hand when it's hard to over-mix them.
Using excessively high mixer speeds, especially at the beginning of the mixing process, can also lead to overmixing. High speeds can cause ingredients to be incorporated too quickly and may result in excessive gluten development in certain recipes. Dumping all the ingredients into the mixer at once, especially in recipes with precise incorporation requirements, is another reason why you might end up with an over-mixed batter or dough.
So, how do you avoid over-mixing? Begin mixing at a low speed, especially when combining dry and wet ingredients. Starting at a low speed allows for gradual incorporation and helps prevent overmixing. Keep a close eye on the mixing process, and stop the mixer as soon as the ingredients are fully combined. For some recipes, it may be beneficial to finish mixing by hand to avoid over-mixing. It seems obvious, but following the recipe exactly is important. Measuring ingredients incorrectly or failing to sift dry ingredients can also cause over-mixing.
Only having one bowl
If you bake regularly and you only have one bowl for your stand mixer, you're making a misstep. Owning two or three bowls could make your life — or your time in the kitchen — so much easier. When preparing multiple recipes in succession, having extra bowls eliminates the need to stop and wash the bowl between each recipe. This streamlines the cooking or baking process, saving time and allowing you to move seamlessly from one task to the next. Prepping ingredients also becomes more efficient with multiple bowls. For example, you can have one bowl for dry ingredients and another for wet ingredients, making it easier to combine them at the right moment. This approach is particularly useful for recipes that require careful incorporation of ingredients.
What's more, if a recipe calls for resting or rising time for the dough, having an additional bowl allows you to continue with other mixing tasks. This can be especially advantageous in time-sensitive recipes, allowing you to maximize productivity during resting periods. There's also the question of cross-contamination, that's more relevant for some than others. If you have specific dietary restrictions or preferences, having separate bowls can help reduce the risk of cross-contamination between different types of ingredients. This is important, especially when preparing dishes for individuals with allergies or sensitivities.
Not cleaning it thoroughly after use
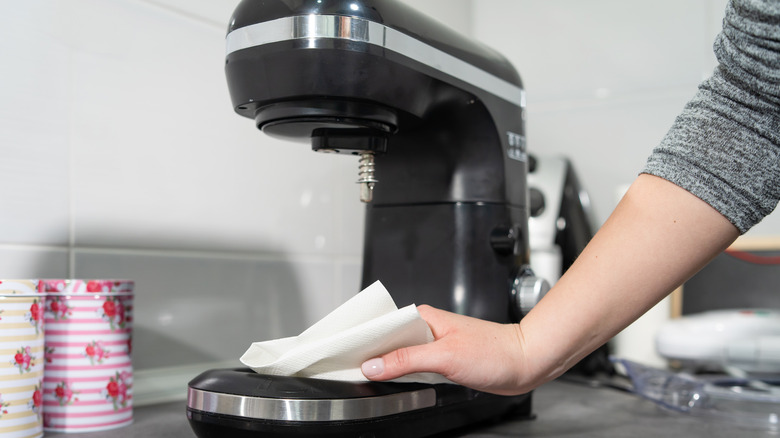
Cleaning your stand mixer properly after each use is important for several reasons. Firstly, proper cleaning ensures that your stand mixer remains a hygienic tool in the kitchen. Bacteria and germs can multiply in leftover food residues, potentially compromising the safety of your future recipes. Residual ingredients left on the mixer's attachments, bowl, or other parts can also lead to cross-contamination. Thorough cleaning helps prevent the transfer of flavors or allergens from one recipe to another.
Regular cleaning helps prevent the buildup of grime, grease, and food particles, which can contribute to wear and tear on the machine. Keeping your stand mixer clean can extend its lifespan and maintain its optimal performance. So, how do you keep it clean? The bowl and the mixing attachments are the easiest part. Check the manufacturer's instructions, but these are often dishwasher-safe — or you can simply wash them by hand.
You should also use a damp cloth to wipe down the exterior of the stand mixer and the beater shaft. Be cautious around buttons and electrical components, ensuring that water doesn't seep into the motor or other sensitive areas — and make sure to unplug the mixer before cleaning the exterior. If there's a hub for attachments, clean it as well to remove any residue or buildup. For mixers with a planetary mixing action, clean around the moving parts to ensure smooth operation.