Witch Finger Cookies Recipe
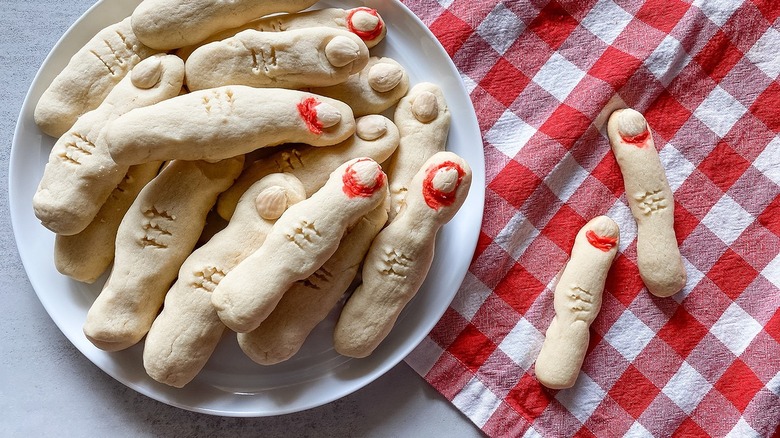
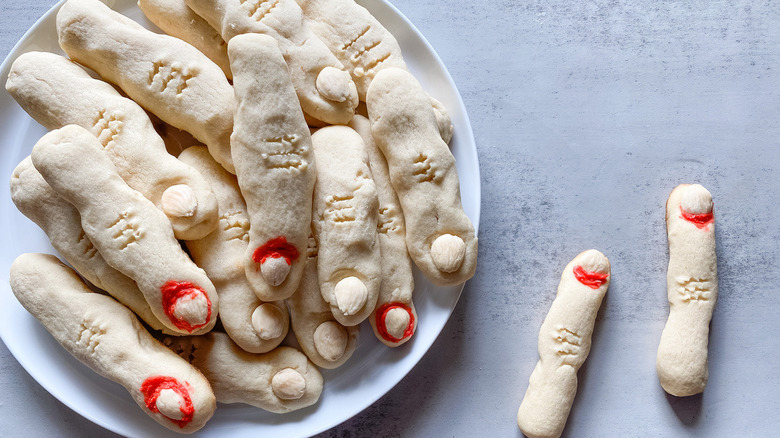
Halloween is right around the corner, and recipe developer Kristen Carli has a fun, themed recipe, this time in the form of witch finger cookies. Carli has a number of themed recipes, including Halloween Oreo spider cookies and cheese and pretzel broomsticks, and these witch fingers are just as exciting. "These are ideal for a Halloween party spread," Carli explains of this recipe. "They can be creepy and fun for kids to enjoy." How else to describe these corpse-white, crooked fingers with gnarled-looking, bloody fingernails than "creepy"? We think she hit the nail on the head!
Well, to be fair, you could describe them as delicious as well, because, indeed they are. These witch fingers are made from a classic cookie dough that consists of equal parts butter and sugar and some flour. Toss in just a few other ingredients, and you have a simple but genius sugar cookie dough — if you're not yet familiar with this genius ratio, you'll be obsessed with it after making these witch fingers. In fact, you might just find yourself using this recipe again and again as your default cookie cutter sugar cookies.
Gather your ingredients to make witch finger cookies
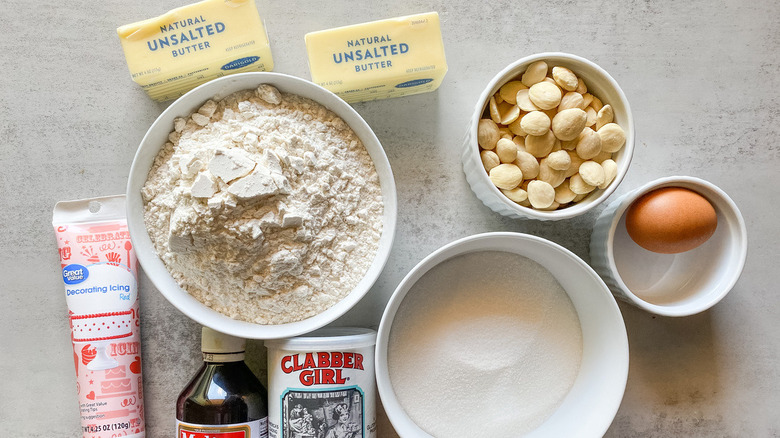
As noted above, Carli's recipe for witch finger cookies uses equal parts butter and sugar. You'll want to take the butter out of the refrigerator about an hour before you plan to start your prep so that it has a chance to soften up. You'll also need a large egg, some vanilla extract, flour, baking powder, salt, Marcona almonds (these are almonds that have been blanched and had their shells removed), and red decorating gel. Not only is this recipe fun and festive, but many of the ingredients are likely already sitting in your pantry at home!
Beat the butter and sugar, then mix in the egg and vanilla
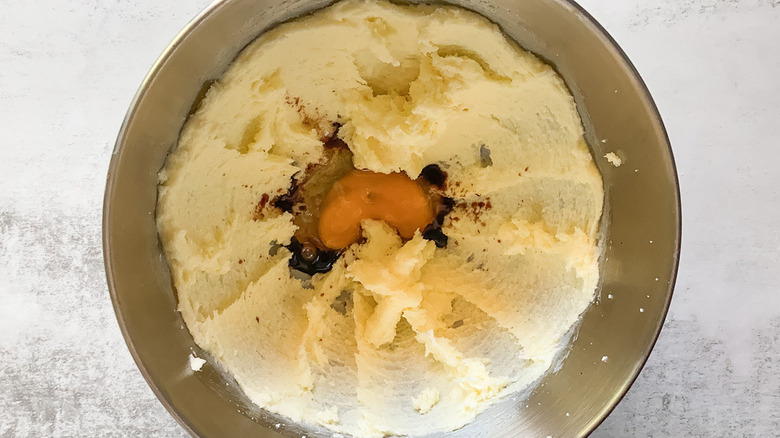
Preheat your oven to 325 F. Prep three large baking sheets by spraying them with nonstick cooking spray. With that all taken care of, take out a medium-sized mixing bowl, and using an electric mixer at medium-high speed, beat the butter and the sugar together until light and fluffy. This should take about five minutes. Then add the egg and vanilla and mix to combine all of these wet ingredients.
Stir together the dry ingredients, and then combine them with the wet ingredients
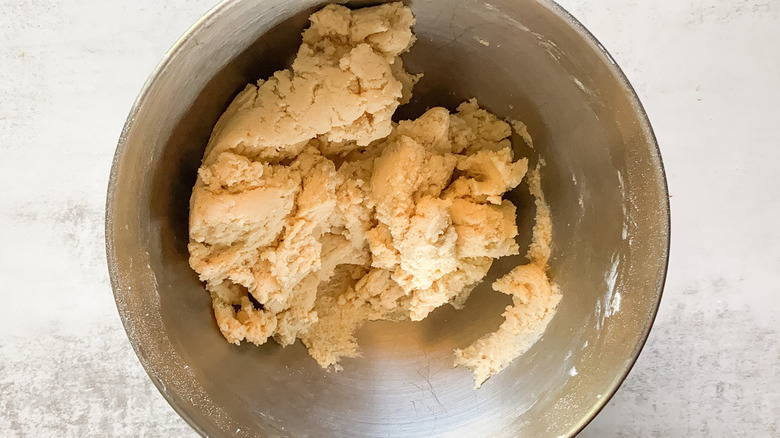
After you've mixed up the wet ingredients, grab another medium-sized bowl for the dry ingredients, meaning, in this case, the flour, baking powder, and salt. Whisk or sift these ingredients together to evenly combine them, making sure that the salt and baking powder are distributed throughout the flour. Then add the dry ingredients to the wet, and mix to combine so that no more flour is visible. This should take about two minutes. Once all of these ingredients come together, they should resemble a thick, classic cookie dough.
Form the dough into finger-like shapes
Turn the dough onto a lightly floured surface. Divide the dough evenly into 36 portions, and roll each portion into a cylindrical shaped "finger," placing each on the baking sheet as you go with a bit of space between (because the cookies will spread slightly).
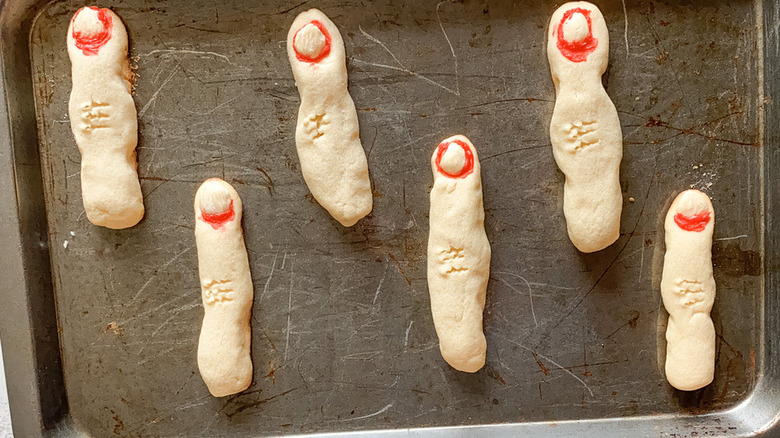
Using your thumb and forefinger, pinch each cookie in the middle to create the appearance of knuckle bones. Then, use a toothpick to draw two sets of horizontal lines on each finger, to appear like the knuckles. Use your index finger to create a small indentation at the top of each finger, and place a Marcona almond into each indentation — these will be the fingernails.
Pop the baking sheets in the oven, and set a timer for 15 minutes. After the time is up, your cookies should be golden brown, and you're ready to take them out o the oven. Let the cookies cool down, and then you can optionally use the red decorating gel to give the appearance of "blood" around the fingernails. Not only do these cookies look spooky, but making them is an activity that the whole family can participate in. We hope you enjoy this festive recipe for witch finger cookies!
Witch Finger Cookies Recipe
Halloween is right around the corner, and recipe developer Kristen Carli has a fun, themed recipe, this time in the form of witch finger cookies.
Ingredients
- nonstick cooking spray
- 2 sticks unsalted butter, softened
- 1 cup sugar
- 1 large egg
- 1 teaspoon vanilla extract
- 2 ⅔ cups flour
- 1 teaspoon baking powder
- ½ teaspoon salt
- 36 Marcona almonds
Optional Ingredients
- red decorating gel
Directions
- Preheat oven to 325 F.
- Spray 3 large baking sheets with nonstick cooking spray.
- In the bowl of a stand mixer, beat the butter and sugar until light and fluffy. Add egg and vanilla, and mix until combined.
- In a medium bowl, whisk together flour, baking powder, and salt.
- Transfer dry ingredients into wet ingredients, and stir until combined, about 2 minutes.
- Place the dough on a lightly floured surface, and divide it into 36 cylindrical "fingers."
- Place the fingers on baking sheets, leaving space between each one.
- Using a toothpick, draw two sets of horizontal lines to appear like knuckles.
- Press your index finger into the top of each cookie to form an indentation, and place one almond into each indentation to appear like the fingernail.
- Bake for 15 to 20 minutes or until golden brown.
- Remove from the oven and allow the cookies to cool down.
- Optionally, use gel red decorating gel to add a drop of "blood" at the base of each or some of the fingernails.
- Serve and enjoy.
Nutrition
| Calories per Serving | 112 |
| Total Fat | 6.2 g |
| Saturated Fat | 3.3 g |
| Trans Fat | 0.2 g |
| Cholesterol | 18.7 mg |
| Total Carbohydrates | 13.0 g |
| Dietary Fiber | 0.4 g |
| Total Sugars | 5.6 g |
| Sodium | 45.5 mg |
| Protein | 1.4 g |