The Mistakes Everyone Makes When Preparing Bone Broth At Home
There's no simple way to ask this question without it coming across as somewhat condescending, but there is this insuppressible temptation to ask: Why do people make so many mistakes when preparing bone broth at home? Rest assured, this question isn't asked to make anyone feel bad about their cooking skills. Still, we find it fascinating that many chefs make common blunders and miss out on all the health benefits, deeper flavor, and savory aroma of bone broth.
From celebrities drinking bone broth to an increasing number of people incorporating it into their diet, this nutritional powerhouse ticks many boxes to deserve a place in your pantry. You could even call bone broth a fountain of youth, since it boosts your skin's collagen production level. Moreover, it is packed with essential vitamins and minerals, nutrients to enhance joint health, amino acid glycine to help improve brain and sleep function, and high in protein to help with weight loss (per Healthline).
So if you want to make a nourishing, highly restorative, and affordable bone broth at home for stews and soups or even to sip throughout the day, it is vital to avoid some common mistakes to ensure the broth packs a nutritional punch and deliciousness every time.
Not using the right bones
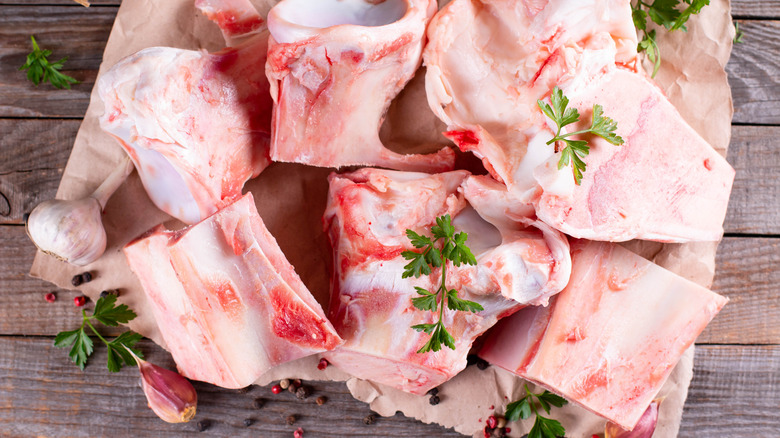
There is a common misconception that marrow bones are the best choice for bone broth. While these are a good pick and offer numerous health benefits, too much marrow can give your bone broth a greasy texture and poor flavor. Moreover, marrow bones don't have enough connective tissue to deliver the collagen that gives the broth a jelly-like texture. It's best not to use only marrow bones. Knuckle and joint bones provide the most gelatin. You can also use neck bones, shanks, and oxtails.
Instead, the Forked Spoon recommends trying 2 or 3 types of bones since different bones deliver different characteristics to your broth. To make your bone broth as nutritious as possible, try using bones from a healthy, grass-fed animal. Also, choose sliced bones since they have more surface area. This allows for the maximum extraction of all the important vitamins and minerals packed inside of the bones.
Not blanching the bones
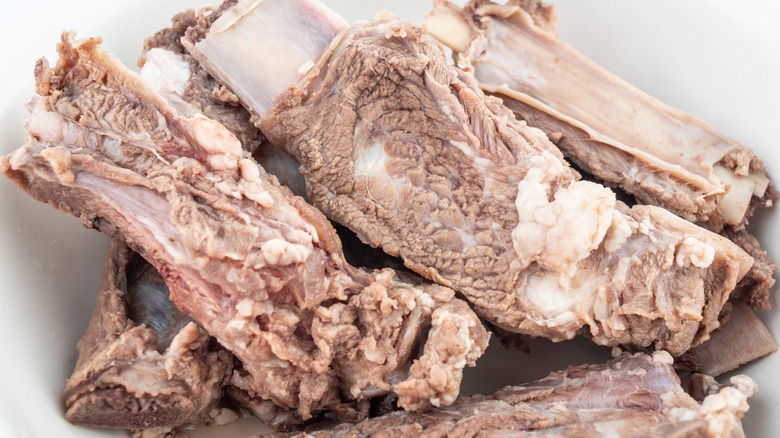
Here is one of the most common blunders people make when preparing bone broth. We like to think that this mistake is similar to using "one" chopstick to eat soup. While the bones used for broth are packed with gelatinous goodness, they also have bits of blood and impurities that make a broth cloudy. While it is not a significant cause for concern, skipping the blanching step results in an imbalanced, bitter-tasting broth.
According to SELF, the right way to blanch bones is to cover them with cold water and bring to a boil. Cold water works best since impurities dissolve more quickly in it. Let the bones cook on high for about 20 minutes while you skim off the gray or white-ish foam, before rinsing and transferring them to a roasting pan.
While blanching chicken bones has a negligible difference in flavor, you should never skip this crucial step when it comes to beef, pork, or even lamb bones. So if you've previously missed the all-important blanching step, there is no need to consider it one of the skeletons in your closet (we hope you noticed what we did here).
Ignoring the roasting step

What's the big deal with skipping the roasting step? Well, first off, you don't want Gordon Ramsay roasting this negligence on TikTok. Secondly, roasting helps bring out the depth of flavor and amplify the meaty taste of a broth. And lastly, roasting helps draw out more collagen and nutrients from the bones to make the broth thicker and healthier.
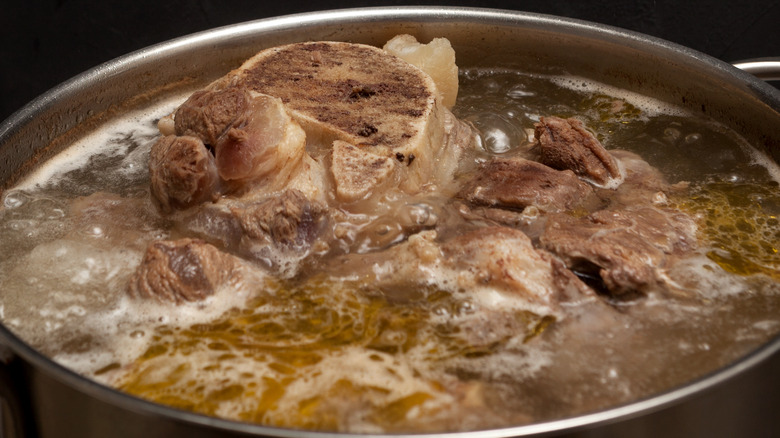
After blanching, place the bones into a preheated oven at 425 F and roast them until they're pretty browned (via Food Above Gold). There's no need to worry about cranking up the oven too high since it's not easy to over-roast broth bones. You'll likely need to roast the bones for about an hour or more, depending on the number of bones and how long they take to caramelize.
Once roasted, deglaze the roasting pan to ensure you get all those crisped brown bits because you will add them to the stockpot later (nothing should go to waste). This will help add more flavor to your bone broth. If you're roasting marrow bones, you could try Andrew Zimmern's aluminum foil trick.
Adding apple cider vinegar to your bone broth
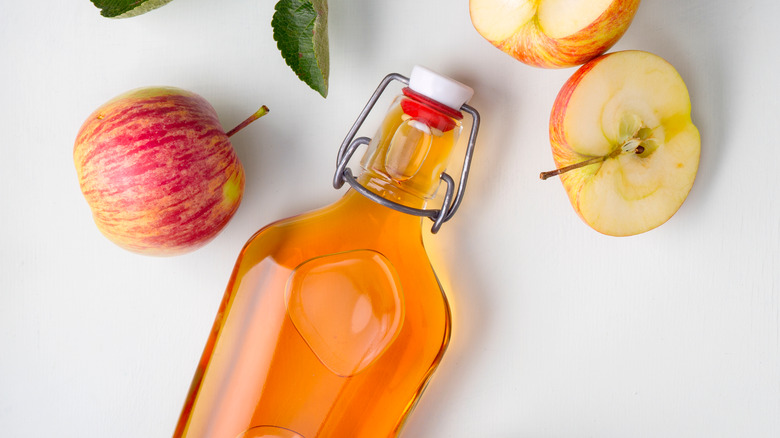
Adding apple cider vinegar to bone broth has mixed opinions. It's widely accepted because many believe it helps extract mineral content from the bones. On the other hand, there are some who oppose adding the acidic liquid to bone broth. For instance, Bluebird Provisions did some lab testing to determine the accuracy of the claims. They compared the vitamins and nutrients of two bone broth batches and found no significant difference. However, there were a few negligible differences in calcium, iron, and vitamin C.
Given that bone broth is about collagen and gelatin, there's no such need to add apple cider vinegar. The addition only makes a minimal difference and may slightly change the broth's overall taste. Also, adding vinegar doesn't provide much value since hours of slow simmering are already enough to extract all the nutrients, collagen, gelatin, and calcium in the bones.
Not being careful about adding ingredients
The idea of making bone broth with only bones and water may sound boring to some people, and we agree to some degree. After all, adding some spices and vegetables helps uplift the flavor of bone broth and gives it some complexity. However, experts recommend not going overboard when adding "other ingredients." Think of it like using an onion, cabbage, tomato, chicken, celery, and olive oil to make a hearty soup, and then deciding to take it to the next level by adding pineapple and chocolate syrup (we hope you got the point).
While you can add aromatics such as garlic, onion, or black pepper to make the bone broth more palatable, it would be best to avoid veggies like carrots that add sweetness, according to Nourished Kitchen. The purpose behind adding carrots to balance the flavor is not that questionable, but it would be best to keep all the focus on the flavors that are not too overpowering. If you really want to use veggies, add them at the end and cook for about 30 minutes.
Please remember that a gelatinous bone broth can be super nutritious for your doggo, but you'd want to skip adding onion and garlic to your broth because they are toxic to dogs (per American Kennel Club).
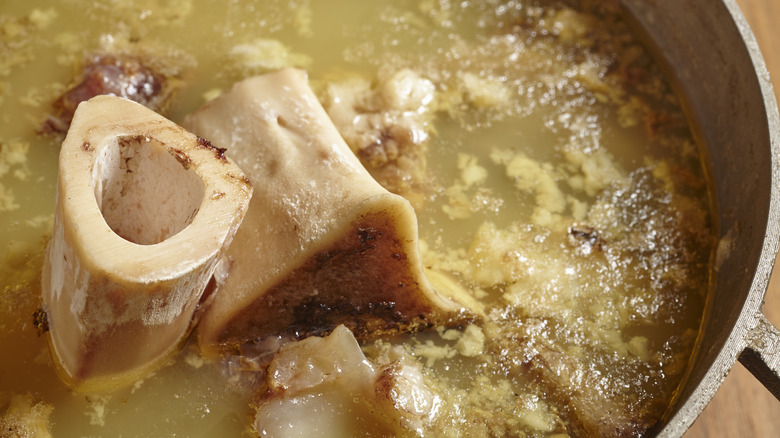
Not letting bone broth simmer long enough
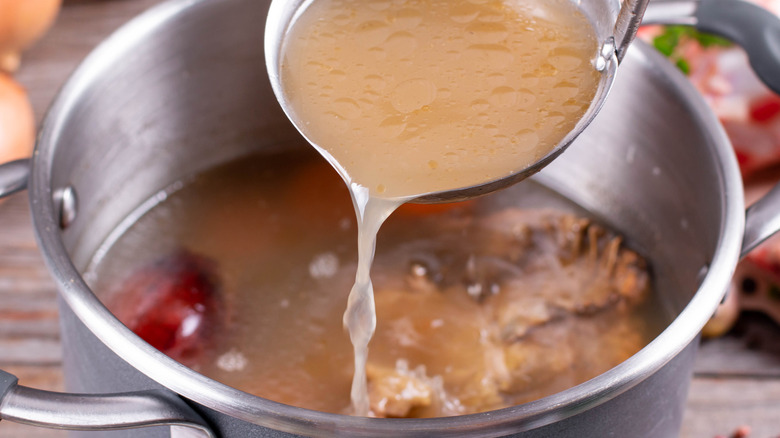
Once you have roasted the bones to bring out their flavor, the next crucial step revolves around extracting all of that goodness into the broth. This is where it is essential to let the bone broth simmer long enough. A low simmer is an amazing method to harvest gelatin efficiently. Too little time to simmer makes a watery, bland broth.
The question of how long you should simmer a bone broth depends on the thickness of the bones you're using. For instance, smaller and thinner bones of chicken don't need to simmer long, but hard and thick beef bones should simmer for at least 8 to 12 hours, or even 24 hours, to ensure you extract all of the gelatin and collagen to adequately infuse the bone broth (via The Forked Spoon).
You might also want to check the bones-to-water ratio. For beef bone broth, the ideal balance is a 1:2 ratio. However, you can make changes to it depending on the type and size of the bones you're using.
Waiting for the finished broth to cool down slowly
If people avoid the mistakes mentioned above when making bone broth, they spoil the fun for themselves with the finishing blunder, which gives bacteria a chance to celebrate and have a party.
You see, your hot bone broth can be an ideal place for bacterial growth, depending on how you cool and store it. This bacteria is not gut-friendly and can make you very sick. According to The Centers for Disease Control and Prevention (CDC), it is important not to leave food at room temperature for longer periods or when the temperature is within 40–140 F, the "danger zone" where bacteria rapidly grow in food. Therefore, you need to cool down the steamy bone broth as quickly as possible.
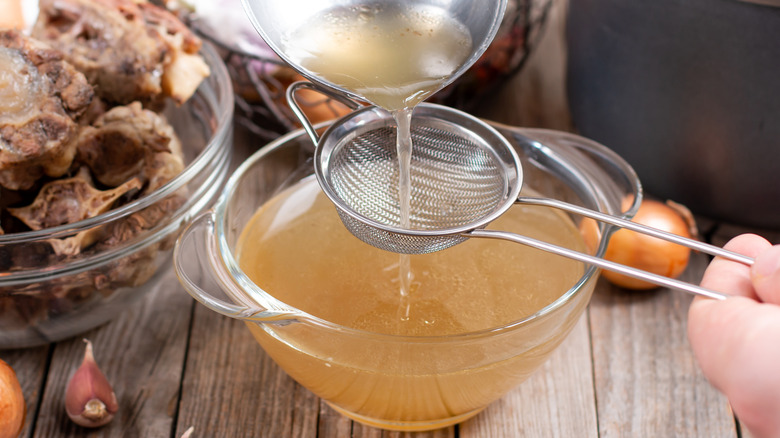
Once you've strained the bone broth, cool it down efficiently to ensure it stays fresher for longer. You can do it by adding a few ice cubes to the broth. As the broth simmers and becomes super thick, a few cubes won't dilute the taste. Or you could dunk the broth pot into a bowl of cold water. Once it cools enough to reach room temperature or close to it, store it in an airtight container and put it in the fridge. Do not immediately put hot bone broth into the fridge. That can propel bacterial growth and even increase the temperature of your fridge (via America's Test Kitchen).