How To Make A Rice Dome In 3 Simple Steps
Just because you're eating at home doesn't mean you can't use some simple tricks to plate your food in elegant ways. We eat with our eyes first, after all, and paying attention to how your meal is presented can make you enjoy it much more, even if the food tastes exactly the same.
Rice is the perfect all-purpose starchy side for saucy foods — it provides a vehicle to ensure not a single drop of flavor from your main dish is left behind on the plate. But rice with curry (or rice and beans, or rice with a stir-fry) isn't always the prettiest plate of food. Often, it'll just look like a pile of grain with some brown slop on top. One great way to improve the appearance of your rice is to add some structure by packing it into a mold that gives it a pleasing shape. Although shaping your rice into a dome makes it appear like you put a bunch of extra effort into plating a gourmet meal, it only takes a few seconds to pull off. We'll show you how to do it, step-by-step.
Rice dome vs. rice volcano
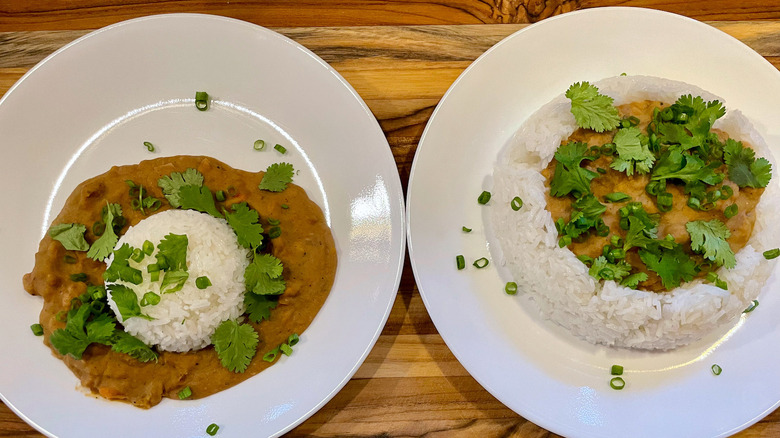
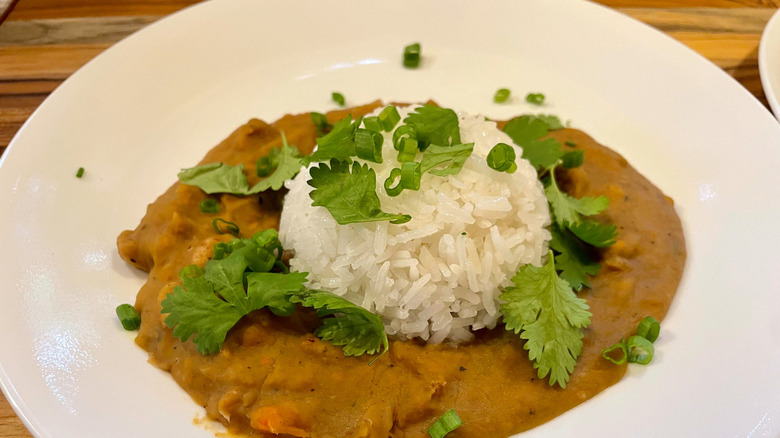
Today we'll be showing you two ways to attractively mold and plate rice: a rice dome, which is a simple half-sphere of rice that can be placed on top of saucy recipes, and what we'll call a rice volcano, which involves shaping the rice into a rimmed form that can be used as an edible container — sort of like a bread bowl, but made out of rice.
The rice dome is what you're more likely to encounter while eating out. We often see Asian restaurants using this technique to present plain white rice in a slightly refined manner. The carefully shaped dome looks tidier and classier than simply scooping rice onto a plate.
The rice volcano, on the other hand, is a bit more of a novelty item — we've never seen a restaurant do this, but it looks cool. In either case, these flashy rice shapes are fairly easy to make and require basic tools that almost everyone has in their kitchens.
What you'll need to make a rice dome
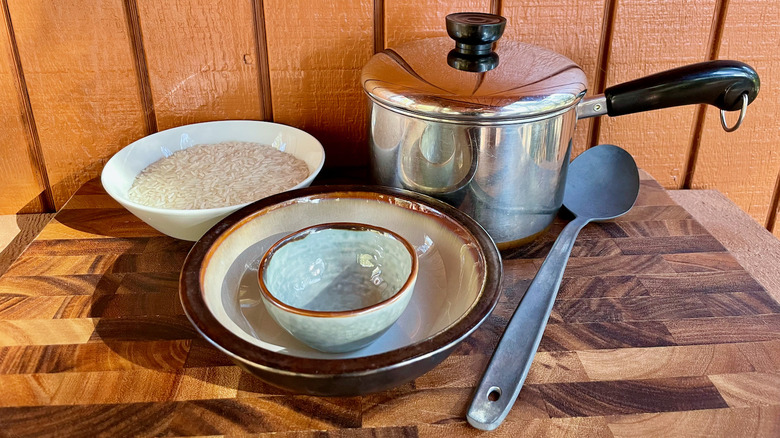
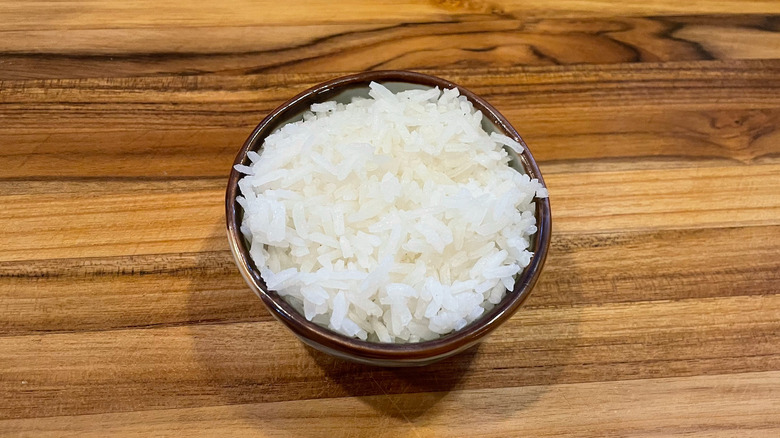
First, of course, you'll need rice. Something halfway between sticky and fluffy will work best for this application — jasmine, sushi rice, or plain medium-grain rice are all good choices. Super long-grain rices like basmati don't stick together well enough to hold a nice dome shape, while ultra-sticky short-grain rices like arborio will be too gloppy and just make a mess.
You'll also need a pot to cook the rice in (or a rice cooker or Instant Pot). Choose a cooking vessel that can comfortably hold your rice and cooking water with plenty of room to spare to avoid it boiling over. A large spoon or other tool for fluffing and scooping the rice is another necessity. Finally, you'll need a dome-shaped bowl to mold the cooked rice. Alternatively, if you're making a rice volcano, you'll need two bowls: A larger one to make the exterior of the mold and a smaller one that can fit upside down inside the larger one to create the hole you'll fill with food. A little bit of cooking spray or vegetable oil may also be useful, though it's not mandatory.
Step 1: Cook your rice
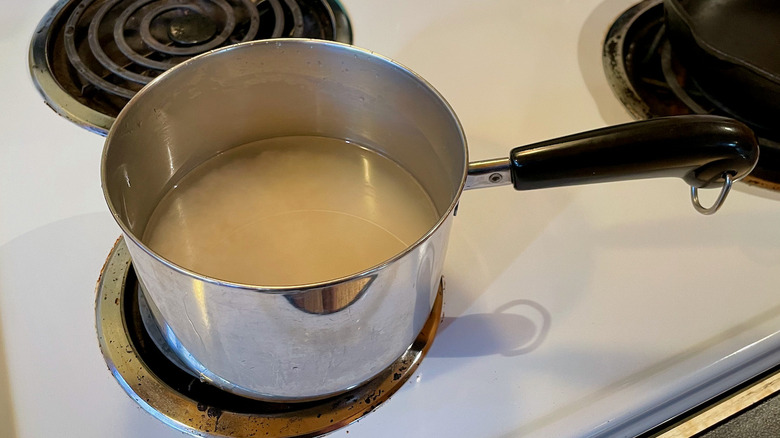
You can cook your rice with any method that produces fluffy yet sticky white rice like what you'd get from a Chinese or Japanese restaurant. A rice cooker or Instant Pot would give you the most foolproof results — all you have to do is add your grains along with the appropriate amount of water, turn the device on to the correct setting, and wait until the cooking cycle is done. However, it's possible to cook great rice on the stove too, which is what we did.
We went with jasmine rice, which can sometimes come out gluey and clumpy, so we rinsed it in three changes of water to get rid of some of the excess starch. We added the amount of water recommended by the instructions on the rice bag, brought it to a boil, turned the heat down low, covered the pot, and let the rice gently cook until it was mostly done (this took about 10 minutes). Then we turned off the burner and let the pot sit, covered, for five additional minutes to let the rice finish steaming. After that, we removed the lid and fluffed the cooked rice with a spoon. When prepared it this way, the rice held its shape well after being molded but didn't stick to the bowl.
Step 2: Mold your rice in the bowl
This is where the vegetable oil or nonstick spray we mentioned earlier comes into play. If you cooked your rice properly, sticking shouldn't be a huge concern, but you can make double-sure that your grains won't stick to the mold by lightly greasing all surfaces that will come in contact with the rice.
To create a rice dome, simply scoop rice into a dome-shaped bowl, gently packing it into place to ensure there are no empty pockets that could ruin the appearance of your dome. "Gently" is the key word here — you don't want an overly dense rice brick, so don't use too much force to cram your rice into the bowl. Level off the top of the rice to make it even with the top lip of the bowl.
For a rice volcano, place your smaller bowl upside-down inside your bigger bowl. The lip of the big bowl should extend higher than the inverted little bowl — otherwise, you'll end up making a ring, not a volcano. Lay in the cooked rice just as you would for the rice dome. Make sure to completely submerge the small bowl with rice and keep it centered so you don't end up with a lopsided volcano.
Step 3: Lift the mold and plate

Once your shape of choice has been created, you must lift the mold confidently or else you risk damaging your carefully-crafted structure. If you're placing your rice dome on top of something saucy like Japanese curry (or, as we did, creamy refried beans), swiftly invert the bowl containing your rice — the dome of grains should smoothly slide out. Do this close to the dish of food; if the dome falls too far, it might crack once it hits the plate.
Plating the rice volcano requires a slightly different technique. First, you may want to let the rice sit in its mold for a few minutes in order to firm up and solidify a bit. We didn't do this, and while our rice volcano came out okay, it did crack slightly. Once the rice has set, place an upside-down plate on top of the rice mold. Carefully grab the plate and the bowl together and quickly flip the whole assembly over so that the plate is right-side-up. Remove the large bowl, then the small bowl, and then fill the hole in the top of your rice volcano with something delicious.
Recipe ideas to accompany your rice dome
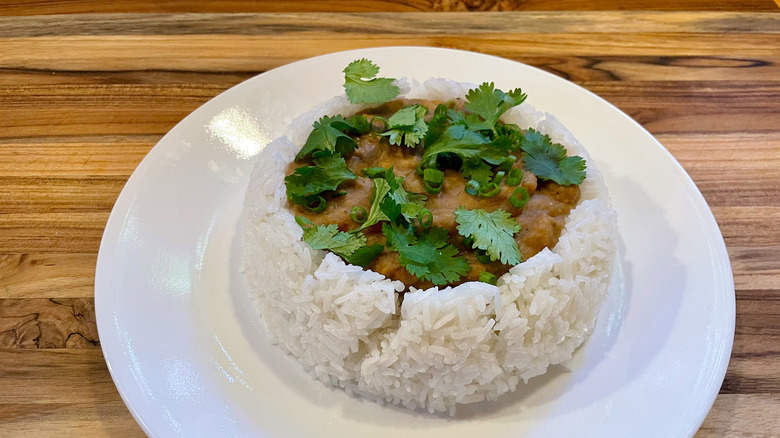
If you'd like to prepare the exact dish shown in the pictures for this article, pair your rice dome with Instant Pot refried beans. Cooking your beans from dried gives you a much more flavorful end product than using canned beans, and the Instant Pot makes the process much quicker and easier (of course, if you don't feel like making beans from scratch, canned refried beans are fine too).
A rice dome or rice volcano is also a natural companion for any type of curry. Our 15-minute Thai green curry is an easy dish that you can whip up in the time it takes the rice to cook. People who are avoiding meat can choose a plant-based recipe like our vegan red lentil curry instead.
Don't limit yourself to one type of cuisine or regional food tradition — anything that tastes good with rice can be elevated with a rice dome. Why not use a rice volcano as an edible bowl for some delicious gumbo? Bright red mapo tofu would look even better crowned with a rice dome. Once you figure out how to do it, we predict you'll use this rice trick quite often.