Easy Tandoori Chicken Recipe
Tandoori chicken has a recognizable red color, a perfectly cooked but not at all dry texture, and the foundational flavors of lemon, garlic and a handful of familiar Indian spices. It's a remarkable dish whose flavor haunts many who have tried it — and you're not going to believe how easy it is to make at home!
Tandoori chicken is an ancient dish that gets its name from the unique oven in which it is cooked, the tandoor. While evidence of the earlier tandoori chicken date back to 3000 BC, its more modern version was popularized by a Punjabi restaurant in the 1940s.
But anywhere outside of the Middle East, India, Pakistan, and even parts of Central Asia and China, proper tandoor ovens are hard to come by. If you're dreaming of building one yourself at home, then it's quite the process, says food blogger & photographer Ksenia Prints of At the Immigrant's Table. However, you may get similar results with a good pizza oven.
Instead of spending your hard-earned cash constructing a tandoor oven, you can instead have an easy Tandoori chicken recipe that's going to blow your socks off — no trip to a restaurant required. For perfectly moist Tandoori chicken you can easily make at home, you need nothing more than a regular oven, a cooking and drying rack and a baking sheet — so read on for our method!
Gather the ingredients for your perfect homemade tandoori chicken
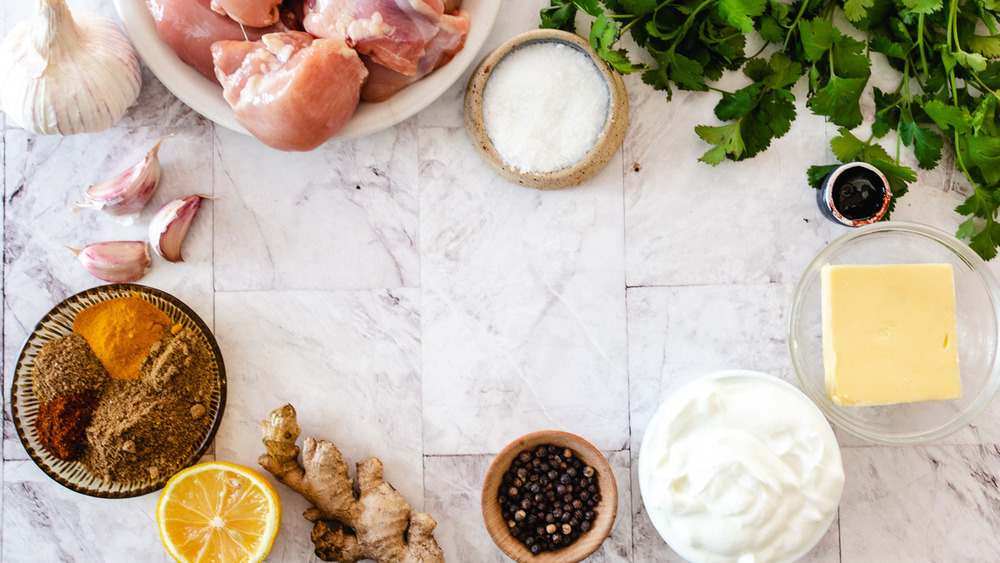
Homemade tandoori chicken doesn't actually require much work, or many complicated ingredients. With a well-stocked spice cabinet, you're already halfway there!
The chicken cut we recommend for tandoori chicken are either thighs or legs. If you're using thighs, just make sure that they're boneless, as bone-in thighs will cook very differently. While some traditional tandoori chicken recipes may require you to mix and match 20 spices, we found that with a few basic seasonings you will get a flavor that is identical to traditional tandoori chicken. The spices you will need are ground coriander, cumin, turmeric, garam masala and cayenne pepper.
Lemon, garlic and ginger round up the flavor profile of this tandoori chicken — and you can even use garlic powder or ground dried ginger if that's what you have on hand. Full-fat yogurt, butter, cilantro and lemon round up the pack.
The only other ingredient we recommend you use in your homemade tandoori chicken is a few drops of red food coloring. It brings the color of the chicken close to that recognizable red color of restaurant tandoori chicken — but if you omit it, nothing will change in the taste.
Score the chicken before making tandoori chicken
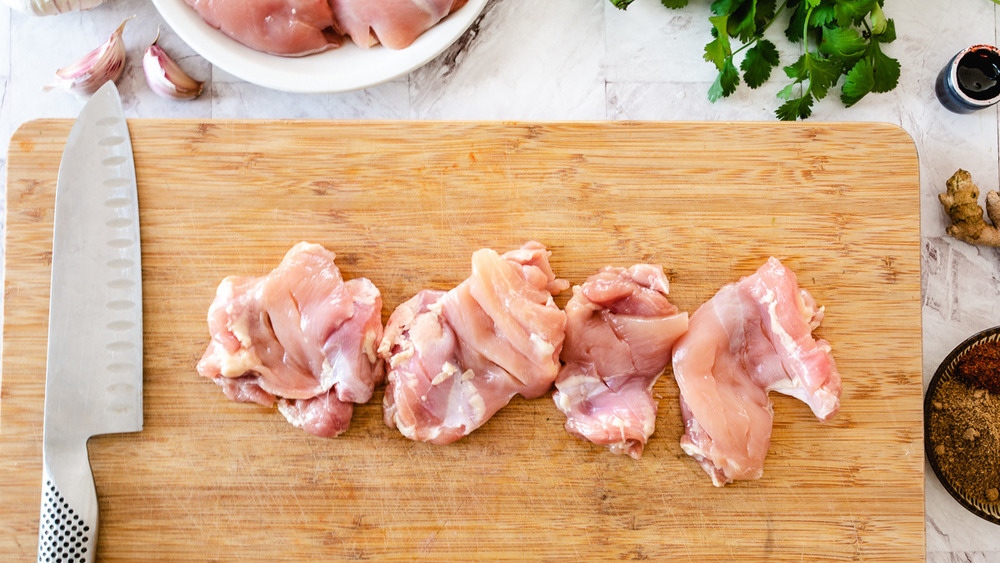
Whether you're using boneless thighs or chicken drumsticks, you will want to first score the flesh of the chicken before you cook it. This helps the flavors of the spices and marinade penetrate into the chicken. Scoring also helps the chicken cook more fully and deeply like you would on a grill or tandoor oven.
Using a knife, cut three deep slits into the chicken. Don't cut through the flesh to the other side, but feel free to cut about half an inch into the flesh. If using drumsticks, do so on two sides of the chicken.
Mix up the tandoori chicken marinade

Add yogurt to a large bowl. Sprinkle in all the spices: ground coriander, cumin, turmeric, garam masala and cayenne pepper. Season with salt and pepper. Finally, add in minced garlic or garlic powder and grated ginger or ground dried ginger to the large bowl. If you're using food coloring, add it in as well. Mix well to combine. You should end up with a pink-red marinade.
Add chicken to marinade, and mix well to ensure all the pieces are coated. Cover and refrigerate marinated chicken for at least two hours and up to overnight.
Prep the sheet and tray for baking tandoori chicken
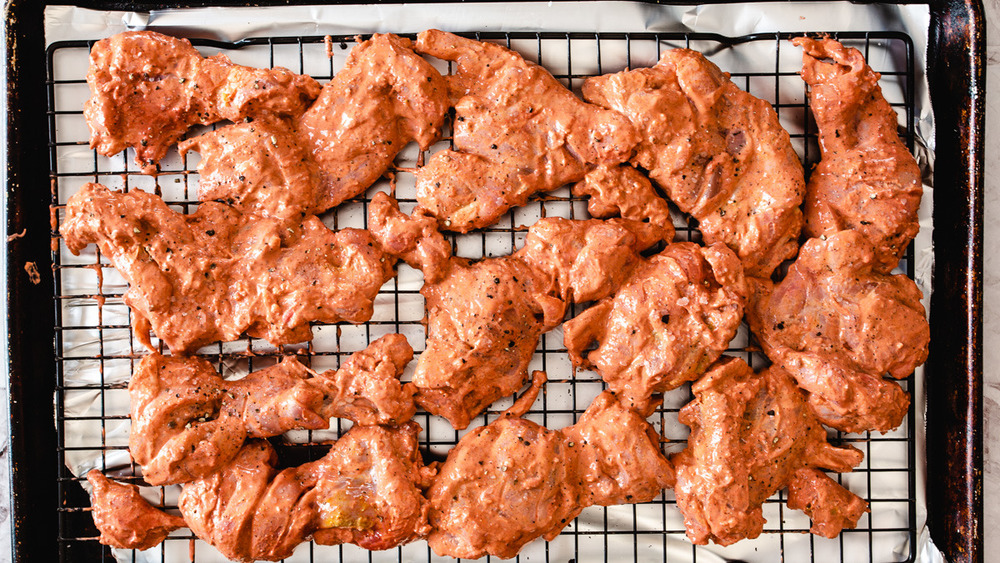
Now, this is where things are starting to get interesting. In our approach to making tandoori chicken at home, we try to replicate a grill inside your oven. Doing so is actually quite easy, and it requires just a bit of ingenuity and patience.
Preheat the oven to 400 degrees Fahrenheit. Cover a baking sheet with aluminum foil — do try to cover it fully, without leaving any corners bare. Place a cookie drying rack or grill rack over the baking sheet — this is the key to creating a makeshift grill in your oven.
Arrange the chicken pieces over the top of this rack. Take care to arrange the chicken in one layer — the pieces can touch, but they shouldn't overlap.
Baking tandoori chicken using our unique method
Place the tray of tandoori chicken in the now heated 400-degree oven, and let it bake for 15 minutes. While your chicken is cooking, melt two tablespoons of butter in the microwave for 30 seconds. If not fully melted, stir and microwave for another 30 seconds.
After 15 minutes have passed, remove the tray from the oven and brush the chicken with half of the melted butter. Return tandoori chicken into the oven for another 15 minutes.
Remove after the second round is completed, and turn the chicken pieces over. Brush the other side with the remaining melted butter and bake for an additional 15 minutes. In total, your tandoori chicken will bake for 45 minutes.
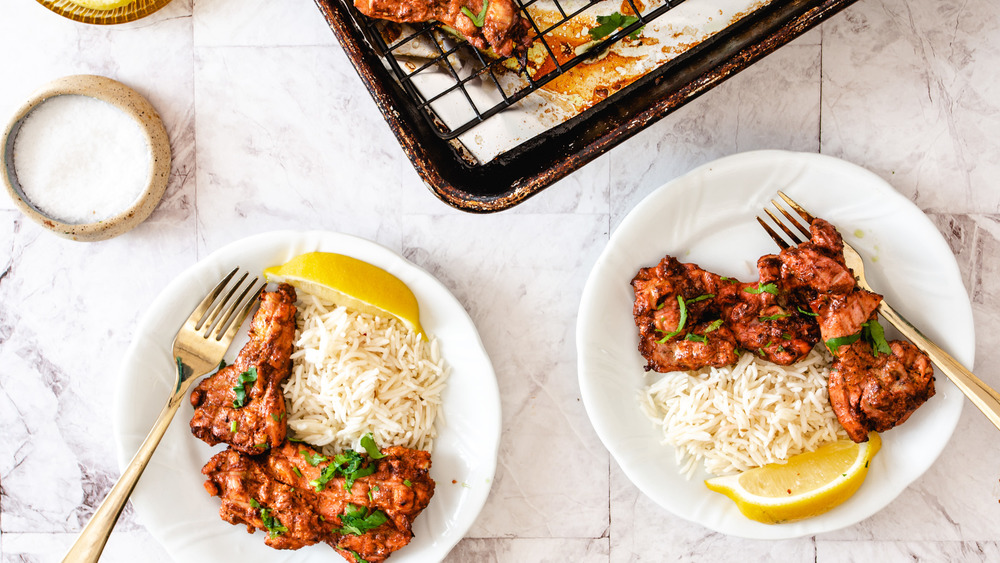
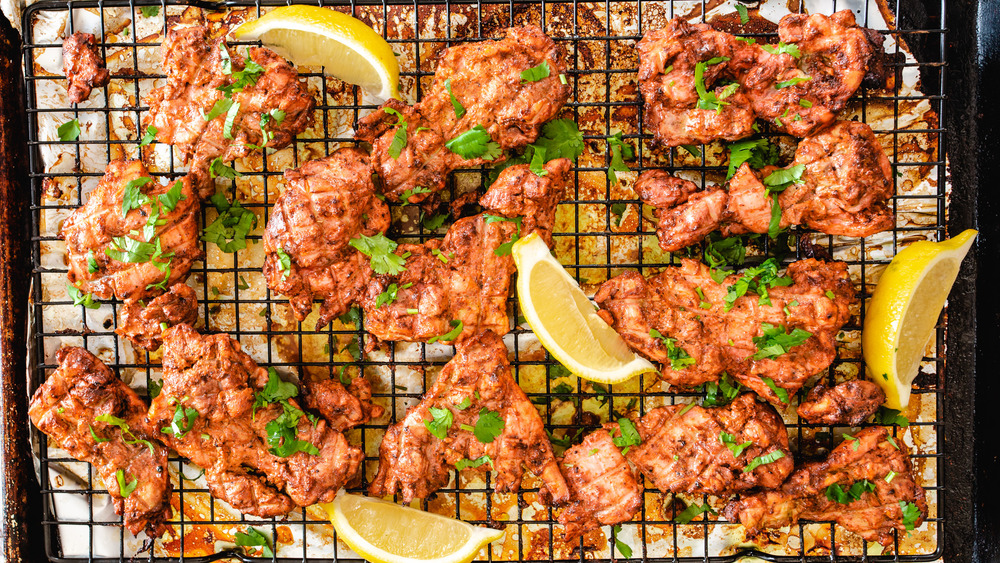
Serve tandoori chicken with fresh cilantro and lemon slices
After all that time in the oven basting and catching a tan, your tandoori chicken is ripe and ready! Look at that gorgeous red-orange color: How appetizing does that look? And the texture is just a dream — succulent and juicy in the middle and tight and blistered on the outside.
Replicating the experience of an Indian tandoor oven at home makes homemade tandoori chicken surprisingly easy to make — and the flavor is incredibly close to the real thing.
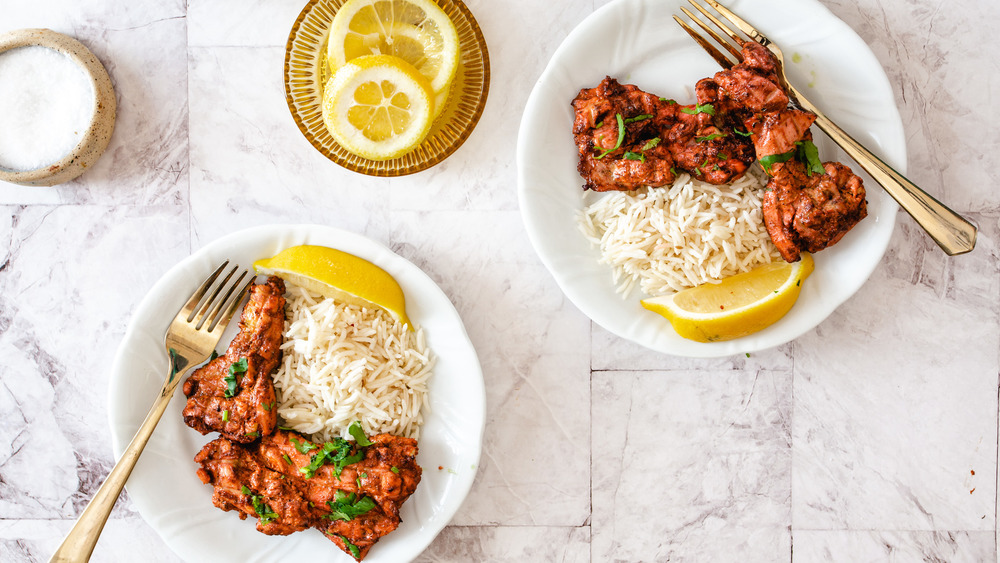
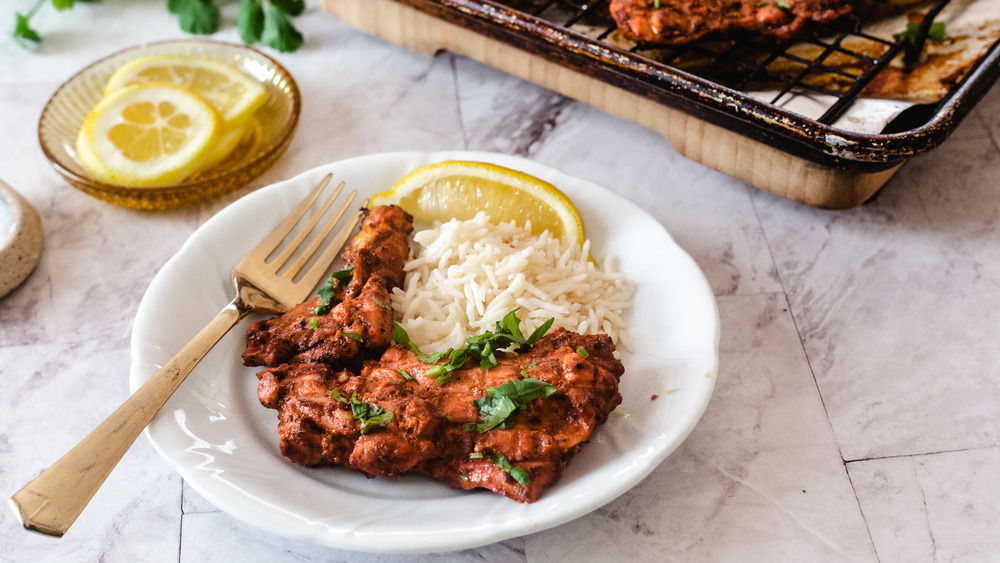
Serve your tandoori chicken sprinkled with fresh cilantro and accompanied with lemon slices, with some fresh basmati rice on the side. The dish will keep in the fridge in an airtight container for up to four days, and it will taste great once reheated in the microwave (though it will lose some of that springiness on the outside). Now, let's get to the details of the recipe so you too can try this at home!
Tandoori chicken you can easily make at home
For times when eating at a restaurant won't do, this simple tandoori chicken recipe will hit the spot for tasty homemade Indian food.
Ingredients
- 2 lbs chicken thighs
- 1 cup full fat yogurt
- 1 lemon
- 1 clove garlic, minced
- 1-inch piece of ginger
- 1 teaspoon coriander
- 1 teaspoon cumin
- 1 teaspoon turmeric
- 1 tablespoon garam masala
- 1 teaspoon cayenne pepper
- 1 tsp salt
- 1/2 tsp ground black pepper
- 2 tbs butter
Optional Ingredients
- 1 tsp red food coloring
- Fresh cilantro for serving
- Lemon slices for serving
- Rice for serving
- 1 teaspoon garlic powder (if you don't have fresh garlic on hand)
- 1 teaspoon ground ginger (if you don't have fresh ginger on hand)
Directions
- Add yogurt and all the spices, salt, pepper, garlic and ginger to a large bowl (including food coloring, if using). Mix well to combine.
- Using a knife, cut deep slits into the chicken.
- Add chicken to marinade, and mix well to ensure all the pieces are coated. Cover and refrigerate for at least 2 hours, up to overnight.
- Preheat oven to 400 degrees Fahrenheit.
- Cover a baking sheet with aluminum foil. Place a cookie drying rack or grill rack over the baking sheet. Arrange the chicken pieces overtop of this rack.
- Bake chicken for 15 minutes. Remove from oven, and brush with half the melted butter. Return for another 15 minutes in the oven.
- Remove, and turn the chicken pieces over. Brush with remaining melted butter, and bake for an additional 15 minutes (for a total of 45 mins baking).
- Serve tandoori chicken sprinkled with fresh cilantro and accompanied with lemon slices.
Nutrition
| Calories per Serving | 305 |
| Total Fat | 23.0 g |
| Saturated Fat | 7.6 g |
| Trans Fat | 0.2 g |
| Cholesterol | 122.7 mg |
| Total Carbohydrates | 4.1 g |
| Dietary Fiber | 0.7 g |
| Total Sugars | 1.7 g |
| Sodium | 369.9 mg |
| Protein | 20.2 g |