Mistakes Everyone Makes When Baking With Chocolate
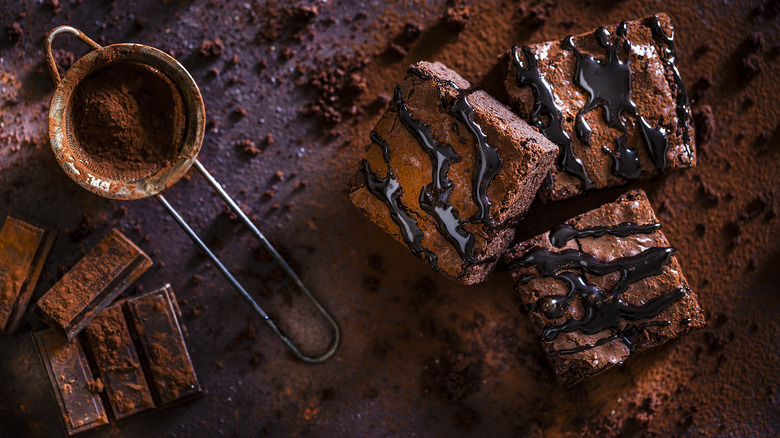
Whenever it appears, chocolate always steals the spotlight. It is the perfect ingredient for snacking, but it also has tremendous potential to transform into gooey cakes, decadent brownies, cookies, creams, glossy glazes, and intricate designs. No other ingredient can deliver such depth, structure, and character. Nothing can mimic the flavor of real chocolate, and there will never be a suitable replacement for this prized commodity. It is one of the most valuable cooking ingredients and will always be the secret weapon for most bakers.
Chocolate comes in many forms and sizes, and it can sometimes be overwhelming to choose the type best suited for your recipe. Common questions often relate to the cacao percentages and whether you should use bars over convenient chocolate chips, but there are many more intricacies related to baking with chocolate. Though it boasts a rich and beefy profile, at its core, chocolate is incredibly delicate, and even a minor mistake can lead to a baking disaster. This collection of possible chocolate mistakes can save you from the usual perils and help you understand chocolate and its role in baked goods. Following the recipe and learning about the frivolous nature of this remarkable product will lead to consistent results and the most indulgent chocolate bakes.
Using the wrong chocolate
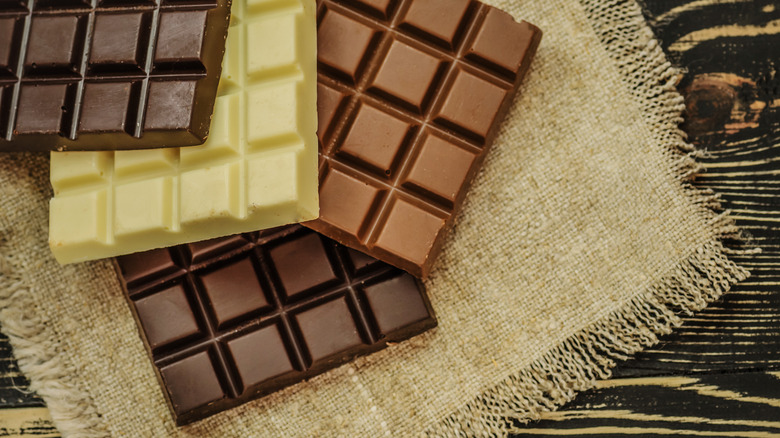
The most common mistake people make when baking with chocolate is choosing the wrong variety. Not all chocolate is created equal, and you can't swap a particular variety stipulated in the recipe with whatever you have on hand. Chocolate is divided into categories, and the one that is commonly used in pastry making will be labeled as baking, cooking, or unsweetened chocolate. This variety usually has no added sugar, as it is supposed to be used in desserts where sugar is added as a separate ingredient. Usually, a lot of sugar is needed to match its bitter character. This variety delivers intense chocolatey flavors and is available in many forms. It is best used for classic chocolate cakes and sponges, but perhaps it's not suitable for creams, frostings, or ganache that usually don't call for added sugar.
Along with the classic unsweetened form, baking chocolate can be labeled as semisweet or bittersweet. As the FDA stipulates, these varieties include added sugar, and the cacao percentage needs to be over 35%. In reality, the brands keep the percentage much higher. Bittersweet varieties usually surpass 60%, while semisweet typically stay around 50%. As the market lacks detailed standardization, these percentages may vary, and the two terms are sometimes used interchangeably. So, it's best to read the label for precise info. When in doubt, bittersweet is a great all-rounder suitable for most desserts.
Using cheap chocolate
If chocolate is the star of your bake, the quality is non-negotiable, and in most cases, higher quality dictates higher prices. Good-quality baking chocolate is usually an acceptable option, but if you make truffles or ganache, you might even want to look into the confectionery section and grab high-quality, regular chocolate with a high cacao percentage. You don't have to splurge and get the single-origin craft labels but don't buy the bottom shelf produce. Chocolate is quite dominant and can't be masked, so you want the best possible option in your kitchen. The good rule of thumb is not to use anything you wouldn't want to eat, and in reality, this means that you can't go with the cheapest version.
Chocolate production is time-consuming and costly. Cacao producers conduct challenging harvesting and process the beans before they are even sent to chocolate producers, who then go through various stages to turn them into bars. Producers who want to keep the production fair and quality high call for significant financial investment, which is evident in the price. Those who emphasize quantity will try to mask low quality and the lack of flavor with sugar and other additions, keeping the prices low.
The ethical side should also be addressed. The chocolate industry is notorious for its association with negative environmental impact, child labor, and poverty of many cacao producers. If the price is suspiciously low, you might reconsider and go for reputable brands with transparent and fair business practices.
Thinking that chocolate chips are suitable for all recipes
Despite the popular belief, chocolate chips are not a perfect all-rounder for most chocolate-based recipes. They win in the convenience department as you can avoid the tiresome, messy chopping, but baking chocolate is generally a much better option.
Compared to baking chocolate, the chips usually have less percentage of cocoa butter — though this varies across brands — and also include more stabilizers, in most cases soy lecithin. Stabilizers help the chips retain firmness and the desired shape, making them also more difficult to melt. Baking chocolate is usually free or has fewer additions and has much better melting properties. The difference is not so noticeable if you plan to use the chocolate in a melted form and add it to a classic batter. However, you want to stick to baking chocolate if you are working on any recipe that calls for fluid, smooth, glossy chocolate that will not set too fast. Even in muffins or the classic chocolate chip cookie recipe, chopped chocolate might be better as it will create an exciting, eclectic texture with melted bits dispersed throughout the cookie. But if you like that snappy chip brittle, chocolate chips are the best option.
Melting it too fast on high heat
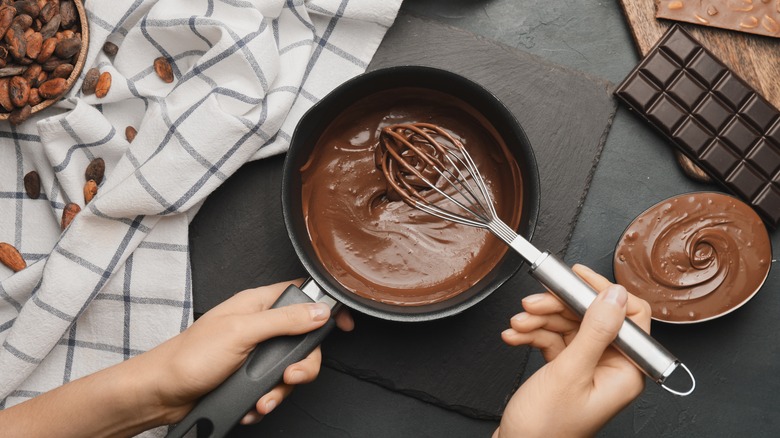
Turning up the heat when melting chocolate will lead to a complete disaster. Chocolate calls for long and slow melt. Too much heat at once will lead to burnt, overcooked, and bad-tasting chocolate.
There are many ways you can melt chocolate. The foolproof double boiler method is the best option for novice bakers as the chocolate is melted by steam and has less chance to burn, though it can be problematic on the edges, so take it off on time. Microwave is the quickest and most effective option, but if you do not know how your microwave works, your chocolate can go from melted to burnt in seconds, and the method is not recommended for the less experienced. The last classic technique suggests heating the chocolate directly on the stove. Though this may seem like a good idea, leaving it on high heat will probably result in a scorched and stiff chocolate mass. For this method to work, the heat has to be turned to the minimum, and constant mixing is obligatory.
Chopping your chocolate into large chunks that will not melt properly

If your recipe calls for melted chocolate, and you decide to follow the advice and skip chocolate chips, you'll need to chop the chocolate bar into smaller chunks. The mistake many people make is to cut the bar into pieces that are either too large or not uniform.
Melting huge chunks of chocolate will simply take too long, and there is a likely chance that you might burn the chocolate in the process. The heat can't melt much chocolate at once, and getting through the layers to get to the center of each piece is difficult and time-consuming. Having uneven chocolate chunks means that some pieces will melt faster than larger ones, possibly leaving you with pieces that haven't melted, and leaving it on the heat for too long leads to a scorched chocolate mass. Ideally, you want to have small, even pieces that will melt quickly and approximately at the same time. Surprisingly, large and irregular pieces are sometimes acceptable. If you plan to add chopped chocolate to cookies, you might want to have uneven pieces as they make the cookie far more exciting to eat, constantly keeping you on the lookout for the next chocolate kick.
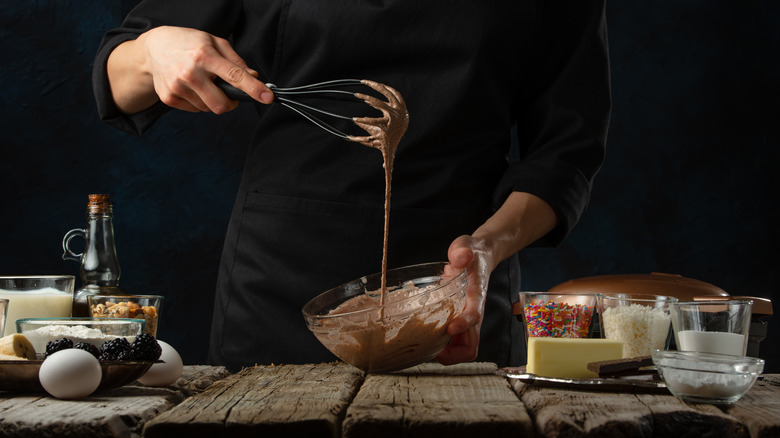
Mixing it in while it's still piping hot
Working with scorching melted chocolate is never a good idea, but it's especially risky if you want to combine it with other ingredients, and eggs are particularly tricky in this combination. Melted chocolate usually goes over 100 degrees. If you add eggs directly to this piping hot mix, the heat will cook the eggs, and you will be left with an unappetizing chocolate scramble instead of a silky and luscious chocolate batter.
The best way to approach this tricky technique is to add some egg batter to the hot melted chocolate and quickly mix it in. Adding a slightly colder ingredient will temper the chocolate and reduce the temperature. You can do this in stages, thoroughly mixing after each addition and then adding whatever is left all at once. The two elements will have already reached the same working temperature, so there is no fear that the eggs will separate or break the chocolate batter.
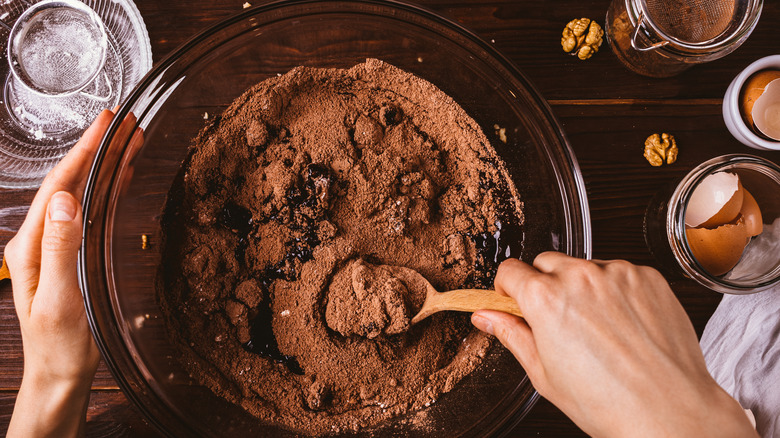
Not considering the temperature of other ingredients
The fundamental baking law stipulates that every successful bake starts with room temperature ingredients. Unsurprisingly, the same applies when you add chocolate to the mix. Though the rule is easy to follow, many often make a mistake and disregard its importance or simply don't remember to plan ahead.
The primary purpose of baking is to blend ingredients that don't usually mix to create the perfect dessert alchemy. You are generally working with elements that don't have the same consistency — think of butter and eggs — which means that blending can sometimes be quite demanding. However, the whole process becomes more manageable when working with softer or warmer components. They are much easier to break into to achieve emulsification that helps build tall, well-structured bakes. With melted chocolate, you want to avoid adding cold products that will bring the temperature down and have problems with blending in properly. Don't be impatient and rush it up. Wait for your ingredients to set and warm up, and you will have a successful baking experience.
Disregarding the cacao percentage
Percentages displayed on chocolate packages are there for a reason, so don't brush them off as irrelevant. You will usually see them on regular, mostly high-end chocolate bars, and they should always be displayed on baking chocolate. If not, look for fine print, as the percentage is crucial for successful baking.
The number indicates the amount of cocoa solids and cocoa butter in the chocolate; that is, how much of the chocolate is made from the cacao bean and what portion is taken up by other ingredients, such as sugar and flavorings. In most cases, a higher percentage delivers more intensity and complexity. As this percentage increases, sugar usually reduces. Though these instances are meaningful with regular snacking chocolate, they are crucial for baking, where even the smallest change can affect the overall flavor, texture, and consistency. Don't use milk chocolate if the recipe suggests a dark 85% variety, as it will lead to an overly sweet dessert. Alternatively, don't push for dark chocolate instead of milder milk versions, as it may be too intense and most likely not sweet enough. If you decide to swap the varieties, adjust the overall amount of sugar in the recipe. White chocolate has no cocoa solids — which is why many don't think of it as true chocolate — and the percentage usually indicates the amount of cocoa butter.
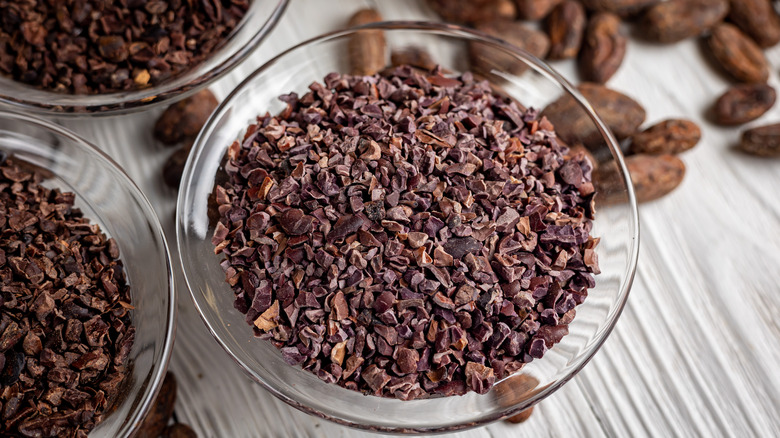
Believing that all cocoa powder is the same
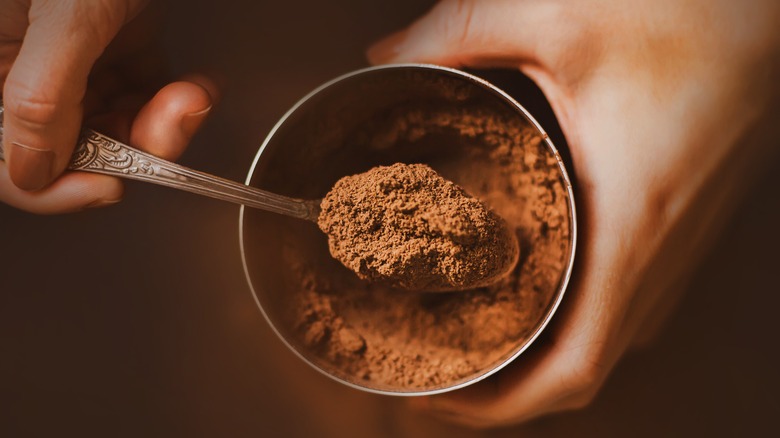
You might argue that cocoa is not legitimate chocolate, but in reality, this is the most authentic version, but it only comes in a powdered form. It is made from cacao beans that go through the same process as regular chocolate but with an additional step in which all butter is removed to get solids that are then milled into powder. However, in post-production, cocoa goes through different processes, and in the baking world, we mainly differentiate between natural cocoa powder and Dutch-processed variety. While natural cocoa is left to preserve the inherent acidity, the Dutch-processed version is alkalized to reduce the astringency, resulting in milder-tasting powder.
Many people make a mistake and assume that these are two identical, and though they are very similar, they react differently when used in baked goods. Less acidity in the Dutch-processed version means that cocoa won't react with baking soda to give that airy quality to your bake, but it will work perfectly with baking powder. Alternatively, natural cocoa keeps its original acidity and will successfully pair with baking soda and help leaven your cakes without adding baking powder. Flavor-wise, both display intense chocolate flavor, but Dutch-processed cocoa has a more mellow and rounded chocolate character.
Believing that chocolate does not agree with salt or spices
Most chocolate-based recipes include salt as one of the essential ingredients. The inexperienced are often reluctant to add it to desserts, but salt is one of the key elements to a successful chocolate bake. Even a pinch will enhance and brighten all the rich chocolate flavors, balance out the sweetness, and tone down the bitterness. Though salt is usually added to the batter, a light sprinkle on top of chocolate cookies will upgrade them to another dimension. Apart from regular salt, try to use artisanal types of salt with a more nuanced profile, but make sure not to go overboard. Salt should only highlight other elements.
Chocolate is a versatile product, and salt is not the only spice it agrees with. Chili is a less obvious partner that perfectly complements bold chocolate flavors. Though it is not a relatively common combination, it is traditional in Mexico where chili is typically added to hot chocolate. Sweet and warming spices such as cinnamon or cloves are always a good idea, and if you want to liven it up and add some zing, go with refreshing cardamom or spicy ginger.
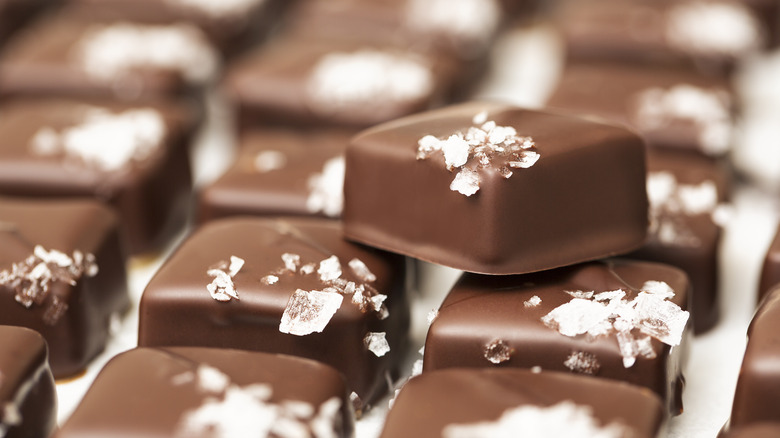
Not tempering it correctly

Tempering chocolate is one of the most challenging tasks when it comes to chocolate desserts. This technique is usually called for when you want your chocolate to hold shape, have a uniform, glossy finish, and attain that distinctive crunch and snap. It is mainly used for glazes, coatings, dips, and molds, such as these festive hot chocolate bombs. Along with its ritzy appearance, tempered chocolate is less likely to bloom.
Home bakers often skip this step or make a similar mistake of not tempering the chocolate properly. There are several ways to temper chocolate, and though the counter technique looks quite neat, it calls for a lot of space and cleaning. The best and easiest way for home kitchens is to melt ⅔ of the chocolate stipulated in the recipe and then add the rest. You'll have to keep mixing until all the chocolate is entirely melted and the mix is ready for immediate use. The trick is to melt the chocolate and not exceed the specified temperature. Though it differs across types and brands, the ideal temperature for dark chocolate should be around 120 — 130 degrees. Anything higher than that might result in a split chocolate far from the glitzy version you were aiming for. You can melt the chocolate using any method you prefer, but the double broiler is again the safest way to go, allowing you to control the temperature quickly.
Not storing the chocolate properly
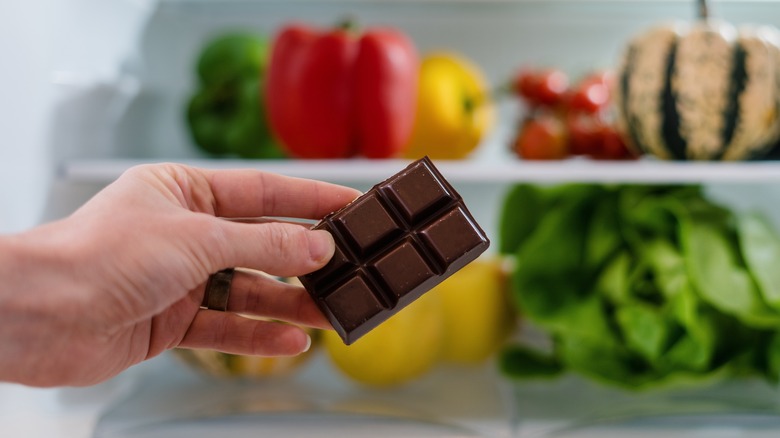
Storing chocolate is not an overly complicated task, but many home bakers don't realize its importance and the fact that good storage helps to preserve chocolate and its good qualities. It's one of the prerequisites that guarantees consistent and successful results in baking.
Damp and sunlit places are not ideal for chocolate. It needs a dry and cool environment, and you want to keep it away from the sunlight. Many people make the mistake of putting the chocolate in the fridge. This is not recommended as the temperature is usually too low and the environment is damp, which may compromise the chocolate. Your chocolate will not necessarily go bad, but it may lose some of its qualities, attain chocolate bloom, or absorb the aroma of other foods. It will also be much more difficult to melt or chop. Chocolate is pretty stable, has a relatively long shelf life, and is not really fussy to maintain. So, just keep it in a cupboard and preferably store it in its original packaging or pre-pack in airtight containers.
Throwing away bloomed chocolate
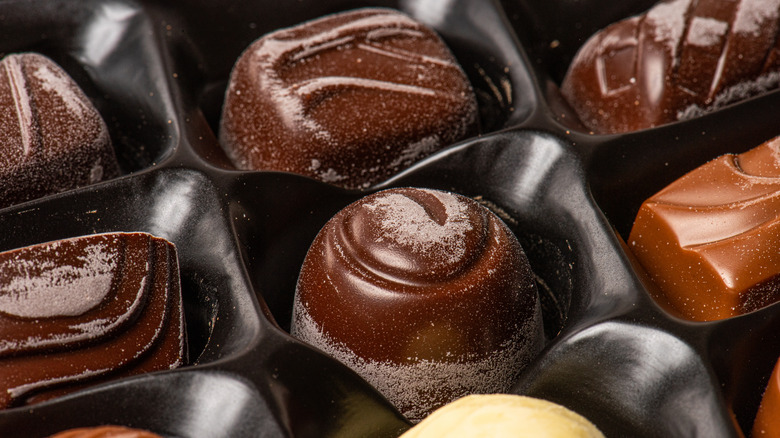
Chocolate bloom usually occurs when the chocolate is not adequately tempered or stored, allowing the fat or sugar to separate and resurface. Fat will usually separate due to heat, while sugar bloom mostly happens if the chocolate is stored in the fridge. Fat or sugar will crystallize on the surface, creating a crumbly, whitish coating. The dull streaks are usually noticeable and give chocolate an unattractive appearance. But don't throw it out; bloomed chocolate is still fine to eat and cook with. The taste is usually not compromised with chocolate bloom, but you might feel the difference in the texture as the chocolate might not be as smooth as it used to be.
Bloomed chocolate is great for baking, especially in a melted form, as the crystals will be reintegrated with other ingredients, and the chocolate will return to its original form. If you temper it, it will again have the ability to attain its unblemished shine. Alternatively, use it for creams, fudge, ganache, chocolate tarts, and mousse, or turn it into a cup of comforting hot chocolate.